


Lark & Berry Ear Piercing Placements, Healing & Pain Guide
Your comprehensive chart to the fine piercing spots offered at Lark & Berry, complete with pain insights and healing timelines to help you plan your perfect curated ear.
Planning Your Piercing Journey with Lark & Berry
Embarking on a piercing journey, especially when creating a curated ear, is an exciting way to express your individual style. Understanding the different placements we offer, what to expect in terms of discomfort, and the commitment to healing are crucial first steps. At Lark & Berry, our highly specialised piercers are dedicated to guiding you through this process, ensuring each piercing is not only beautiful but also perfectly suited to your unique anatomy for optimal healing and safety. This guide details the possibilities available at our studios.
Remember, the pain levels and healing times provided are estimates based on typical experiences. Individual experiences can vary based on your pain threshold, adherence to aftercare protocols, and overall health. A consultation with our experts during your Lark & Berry piercing appointment is always included to discuss your specific anatomy and desires, as your safety and a successful outcome are our top priorities.
A Note on Pain & Healing
Pain is subjective, but generally, piercings through thicker cartilage will be more tender than lobe piercings. Our piercers utilise techniques to minimise discomfort, and the use of our high-quality, nickel-free 14k gold jewellery with push-back flat backs also contributes to a smoother process. Healing is a commitment; cartilage piercings, in particular, require patience and diligent care. For detailed healing advice, please see our Piercing Aftercare Guide. You can also refer to our general Healing Time Chart for a quick overview, though this page details them per placement.
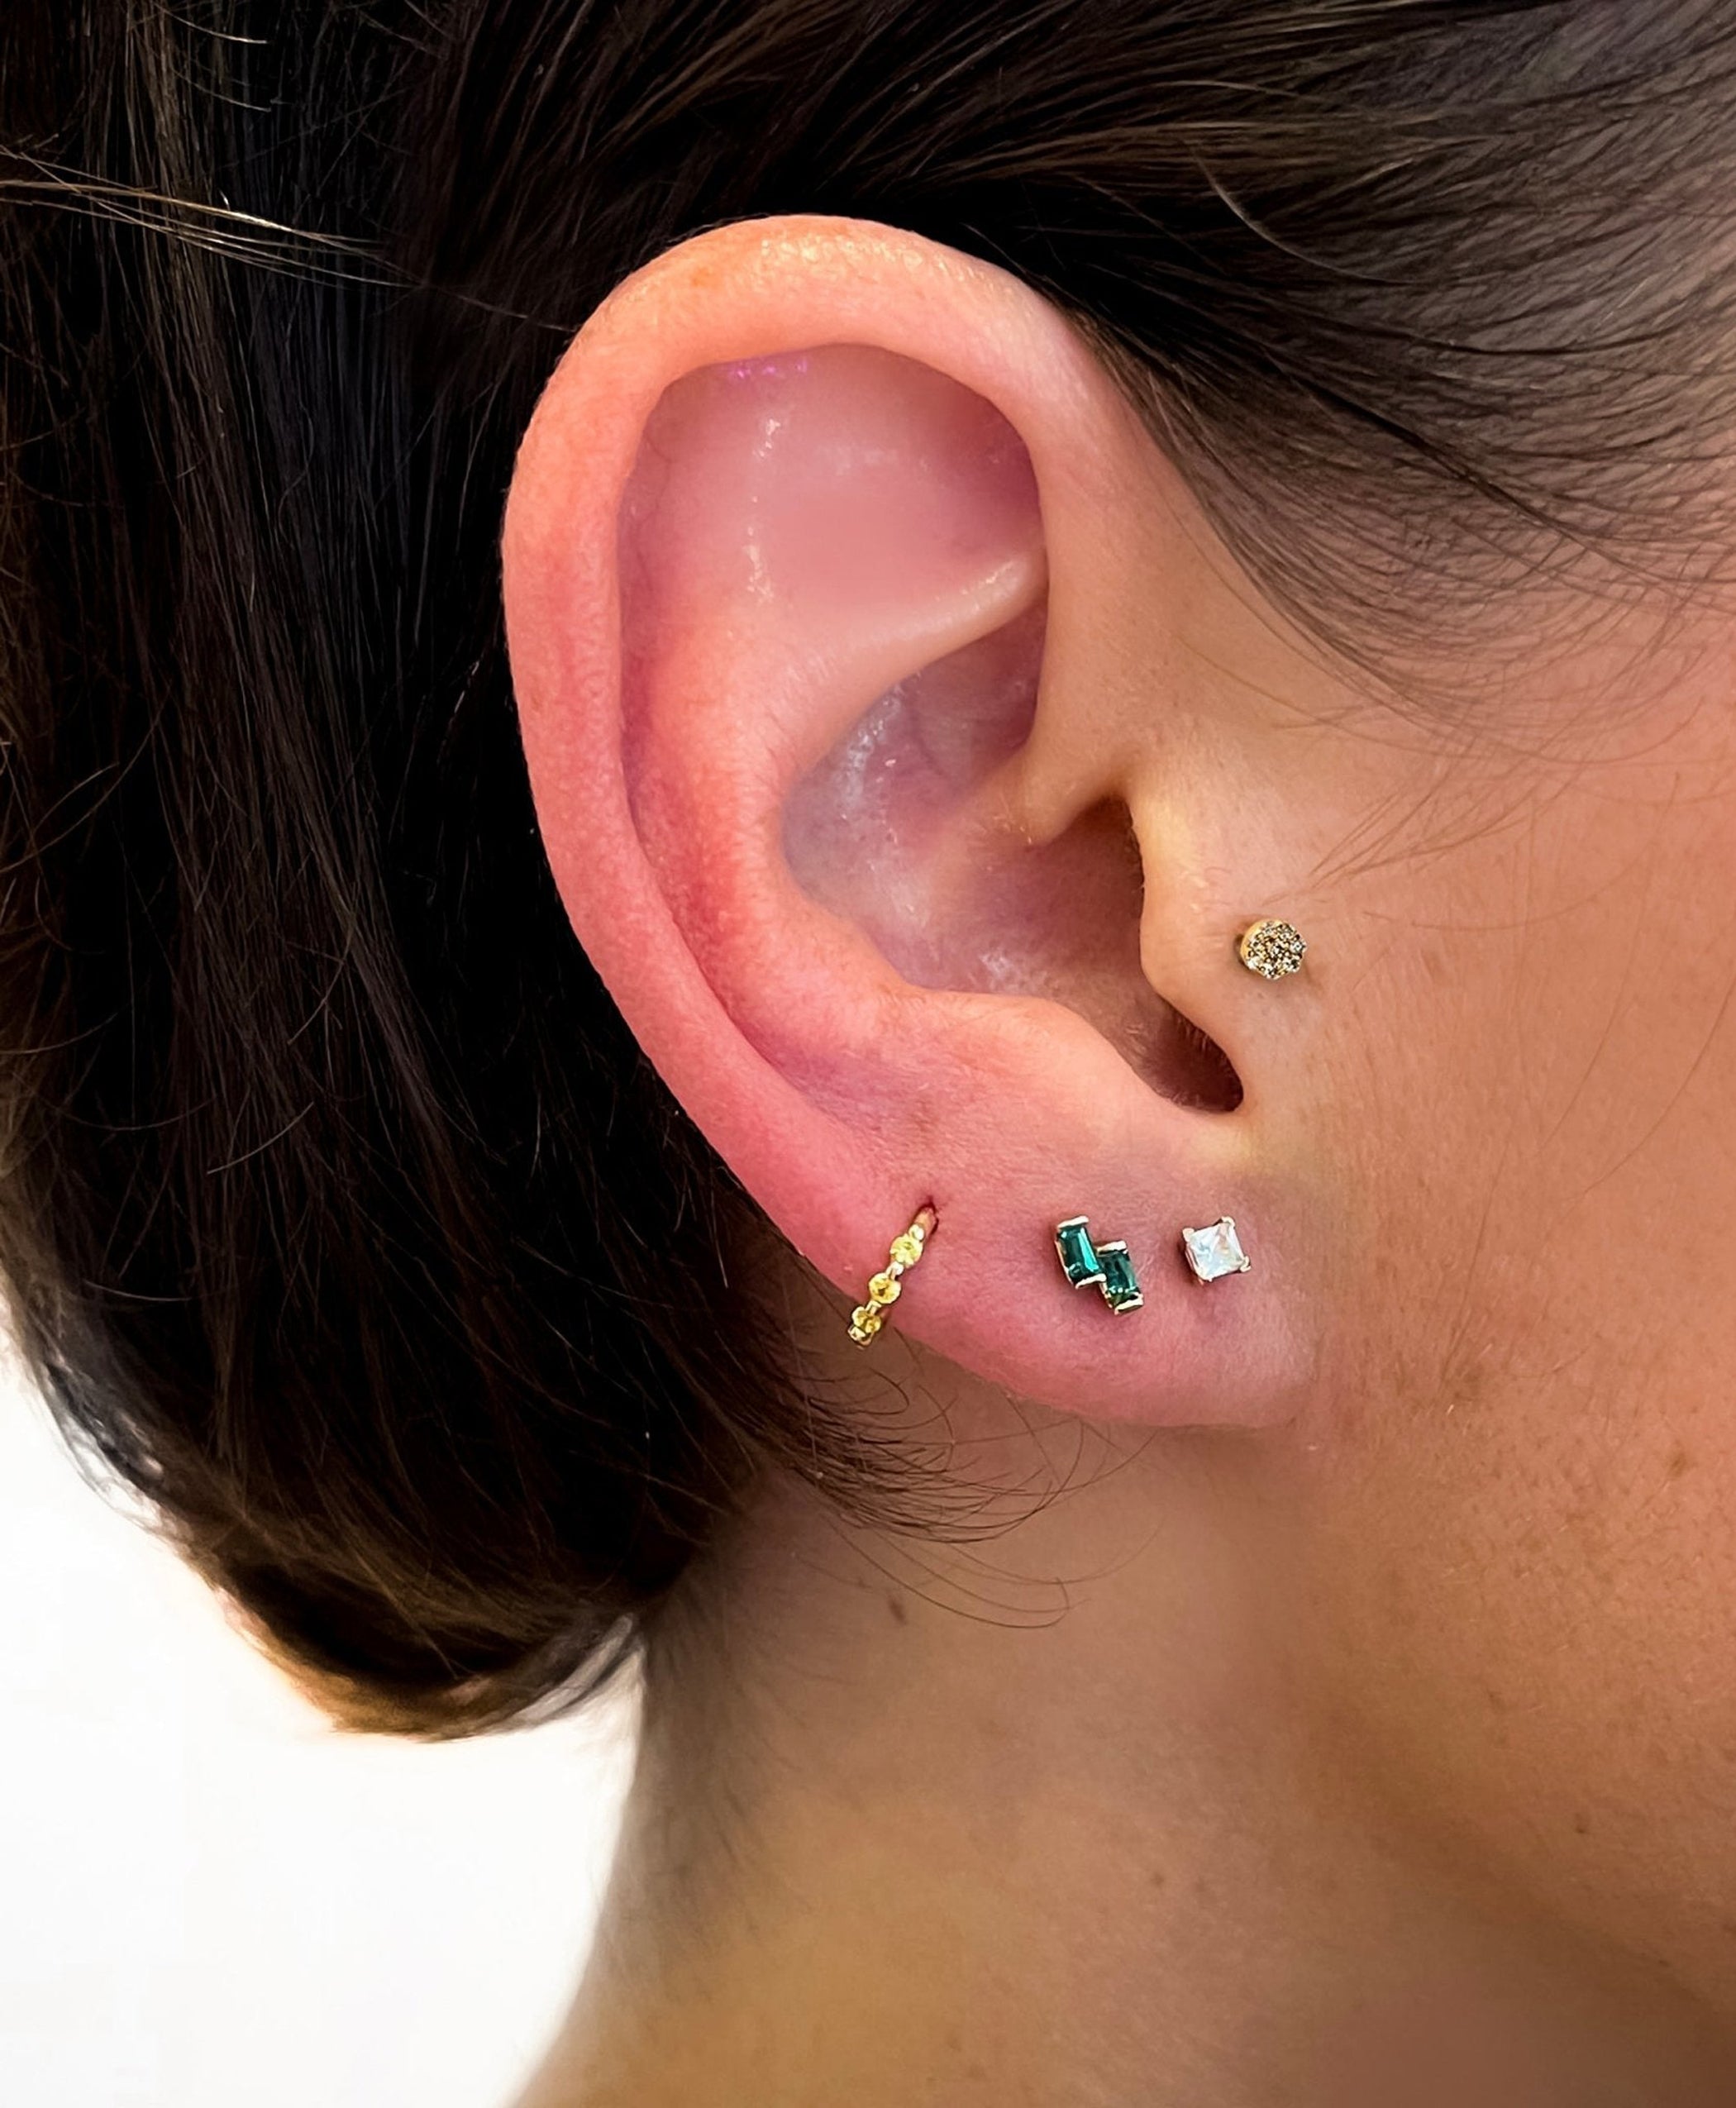
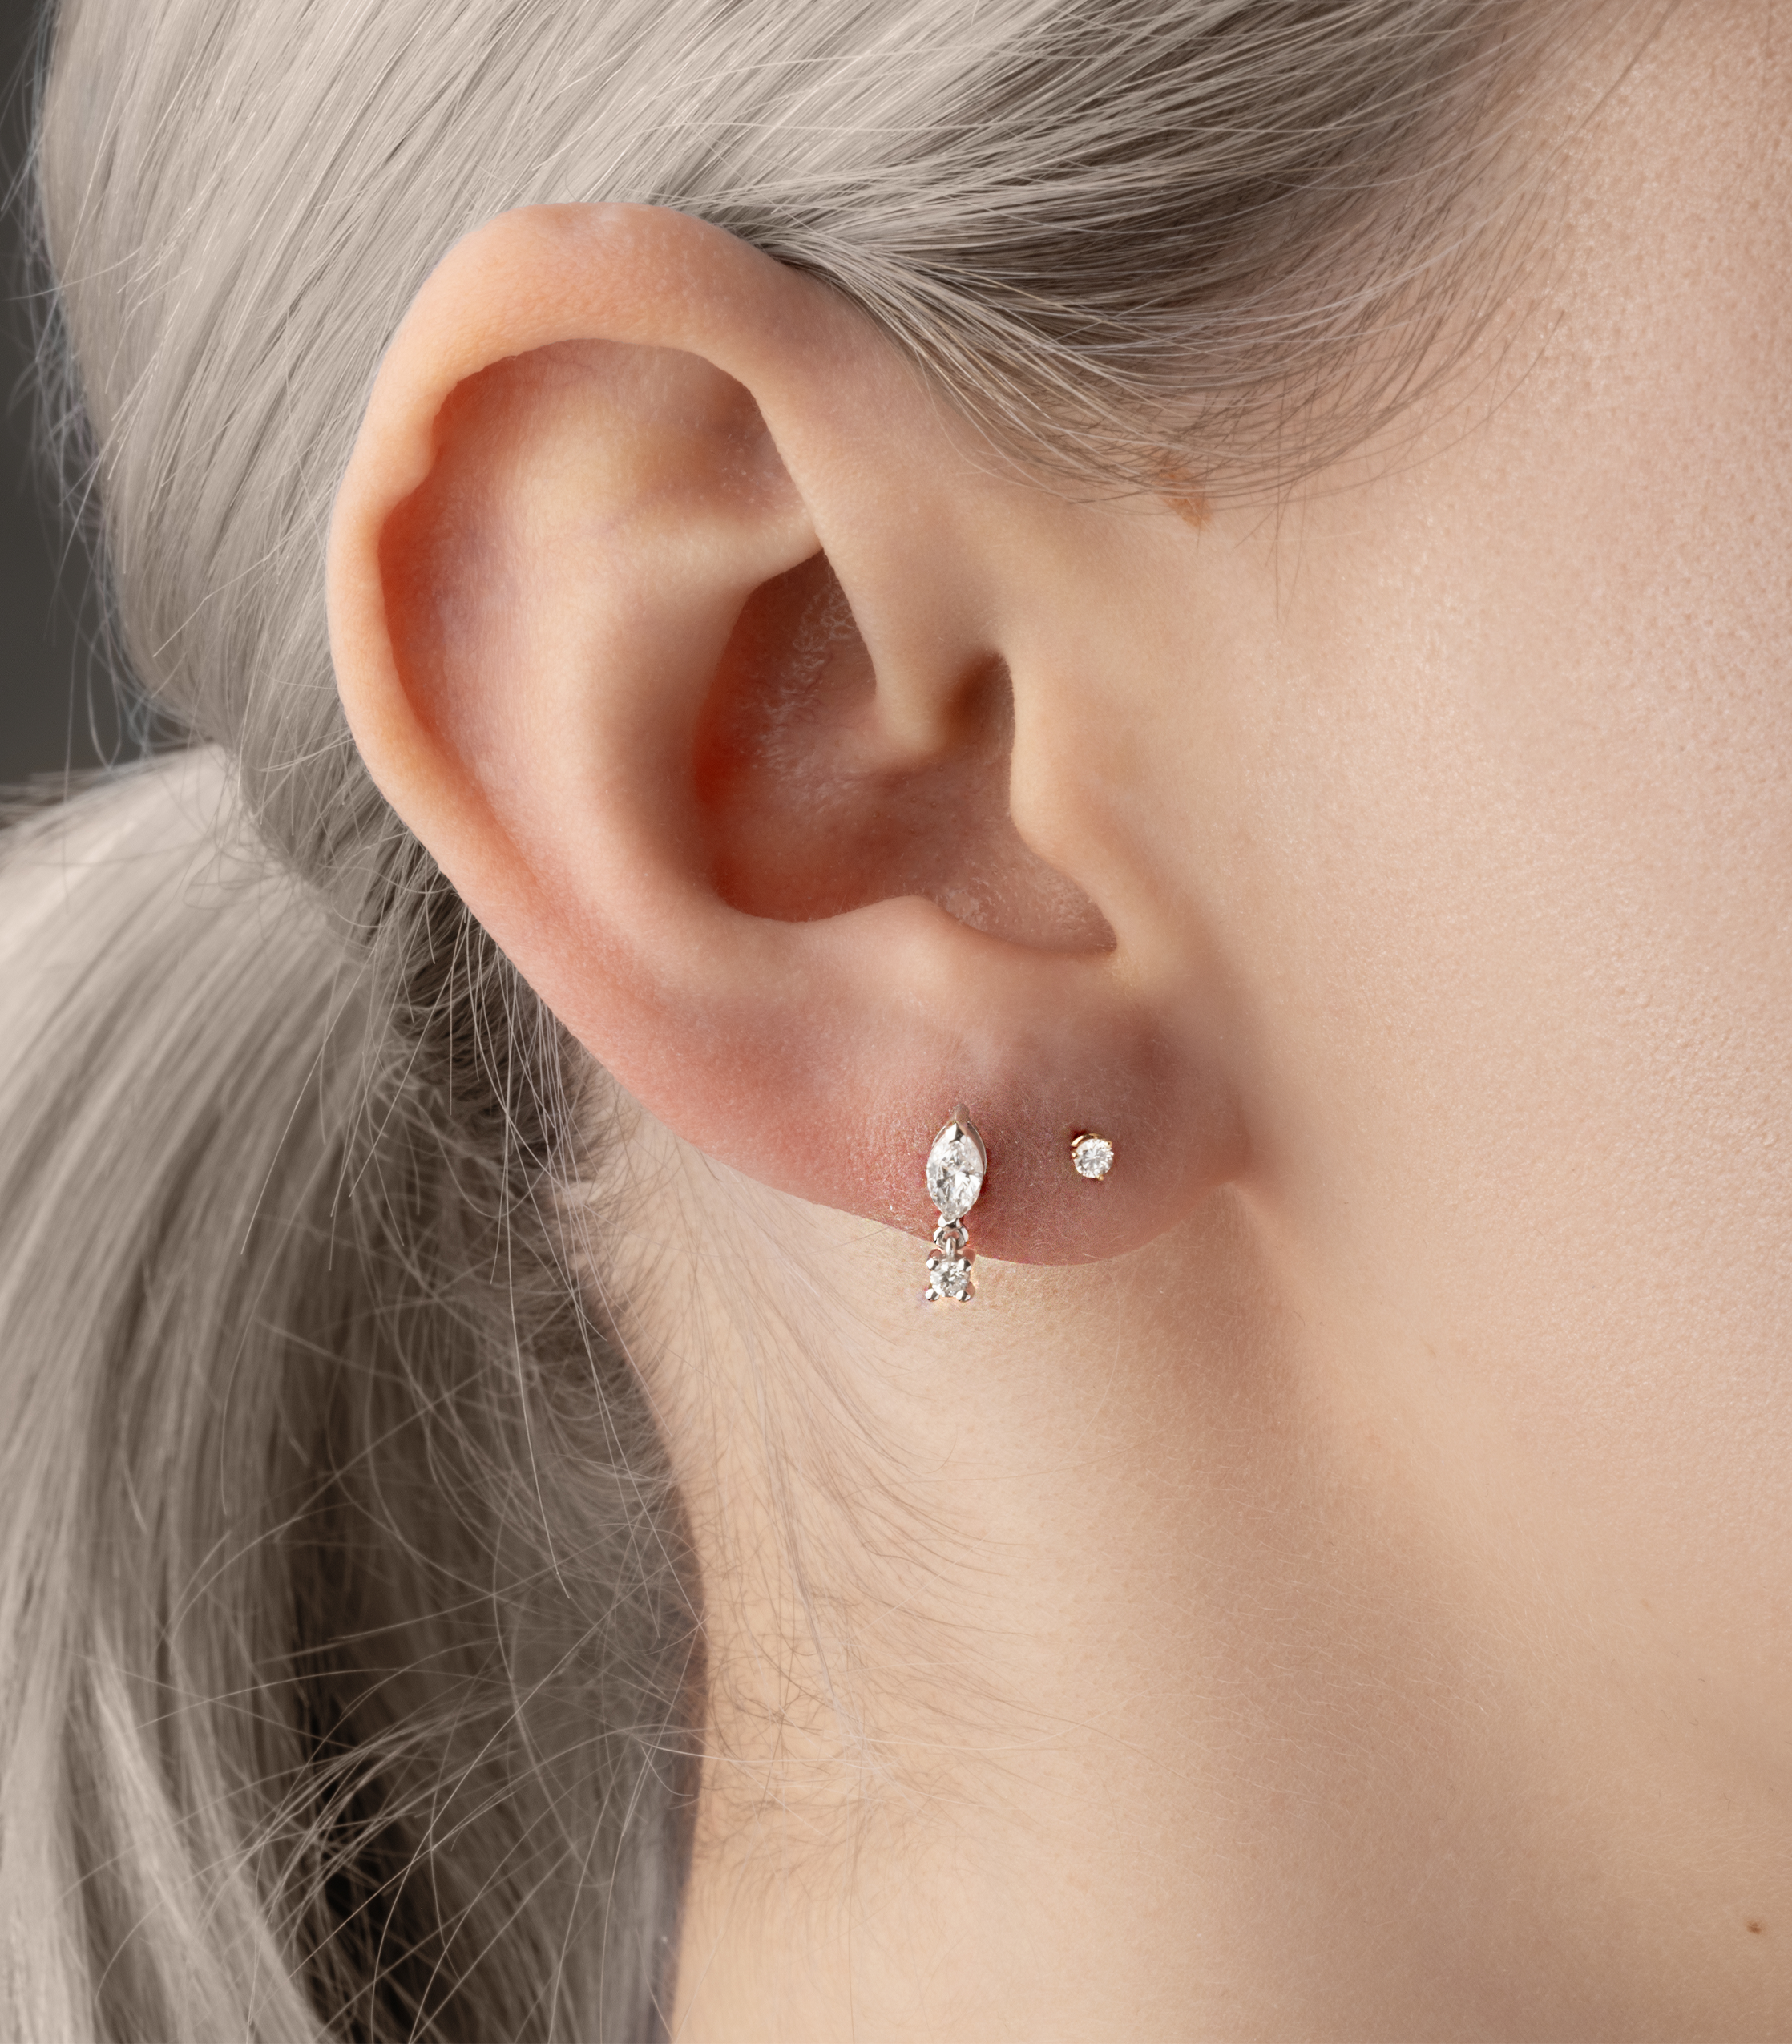
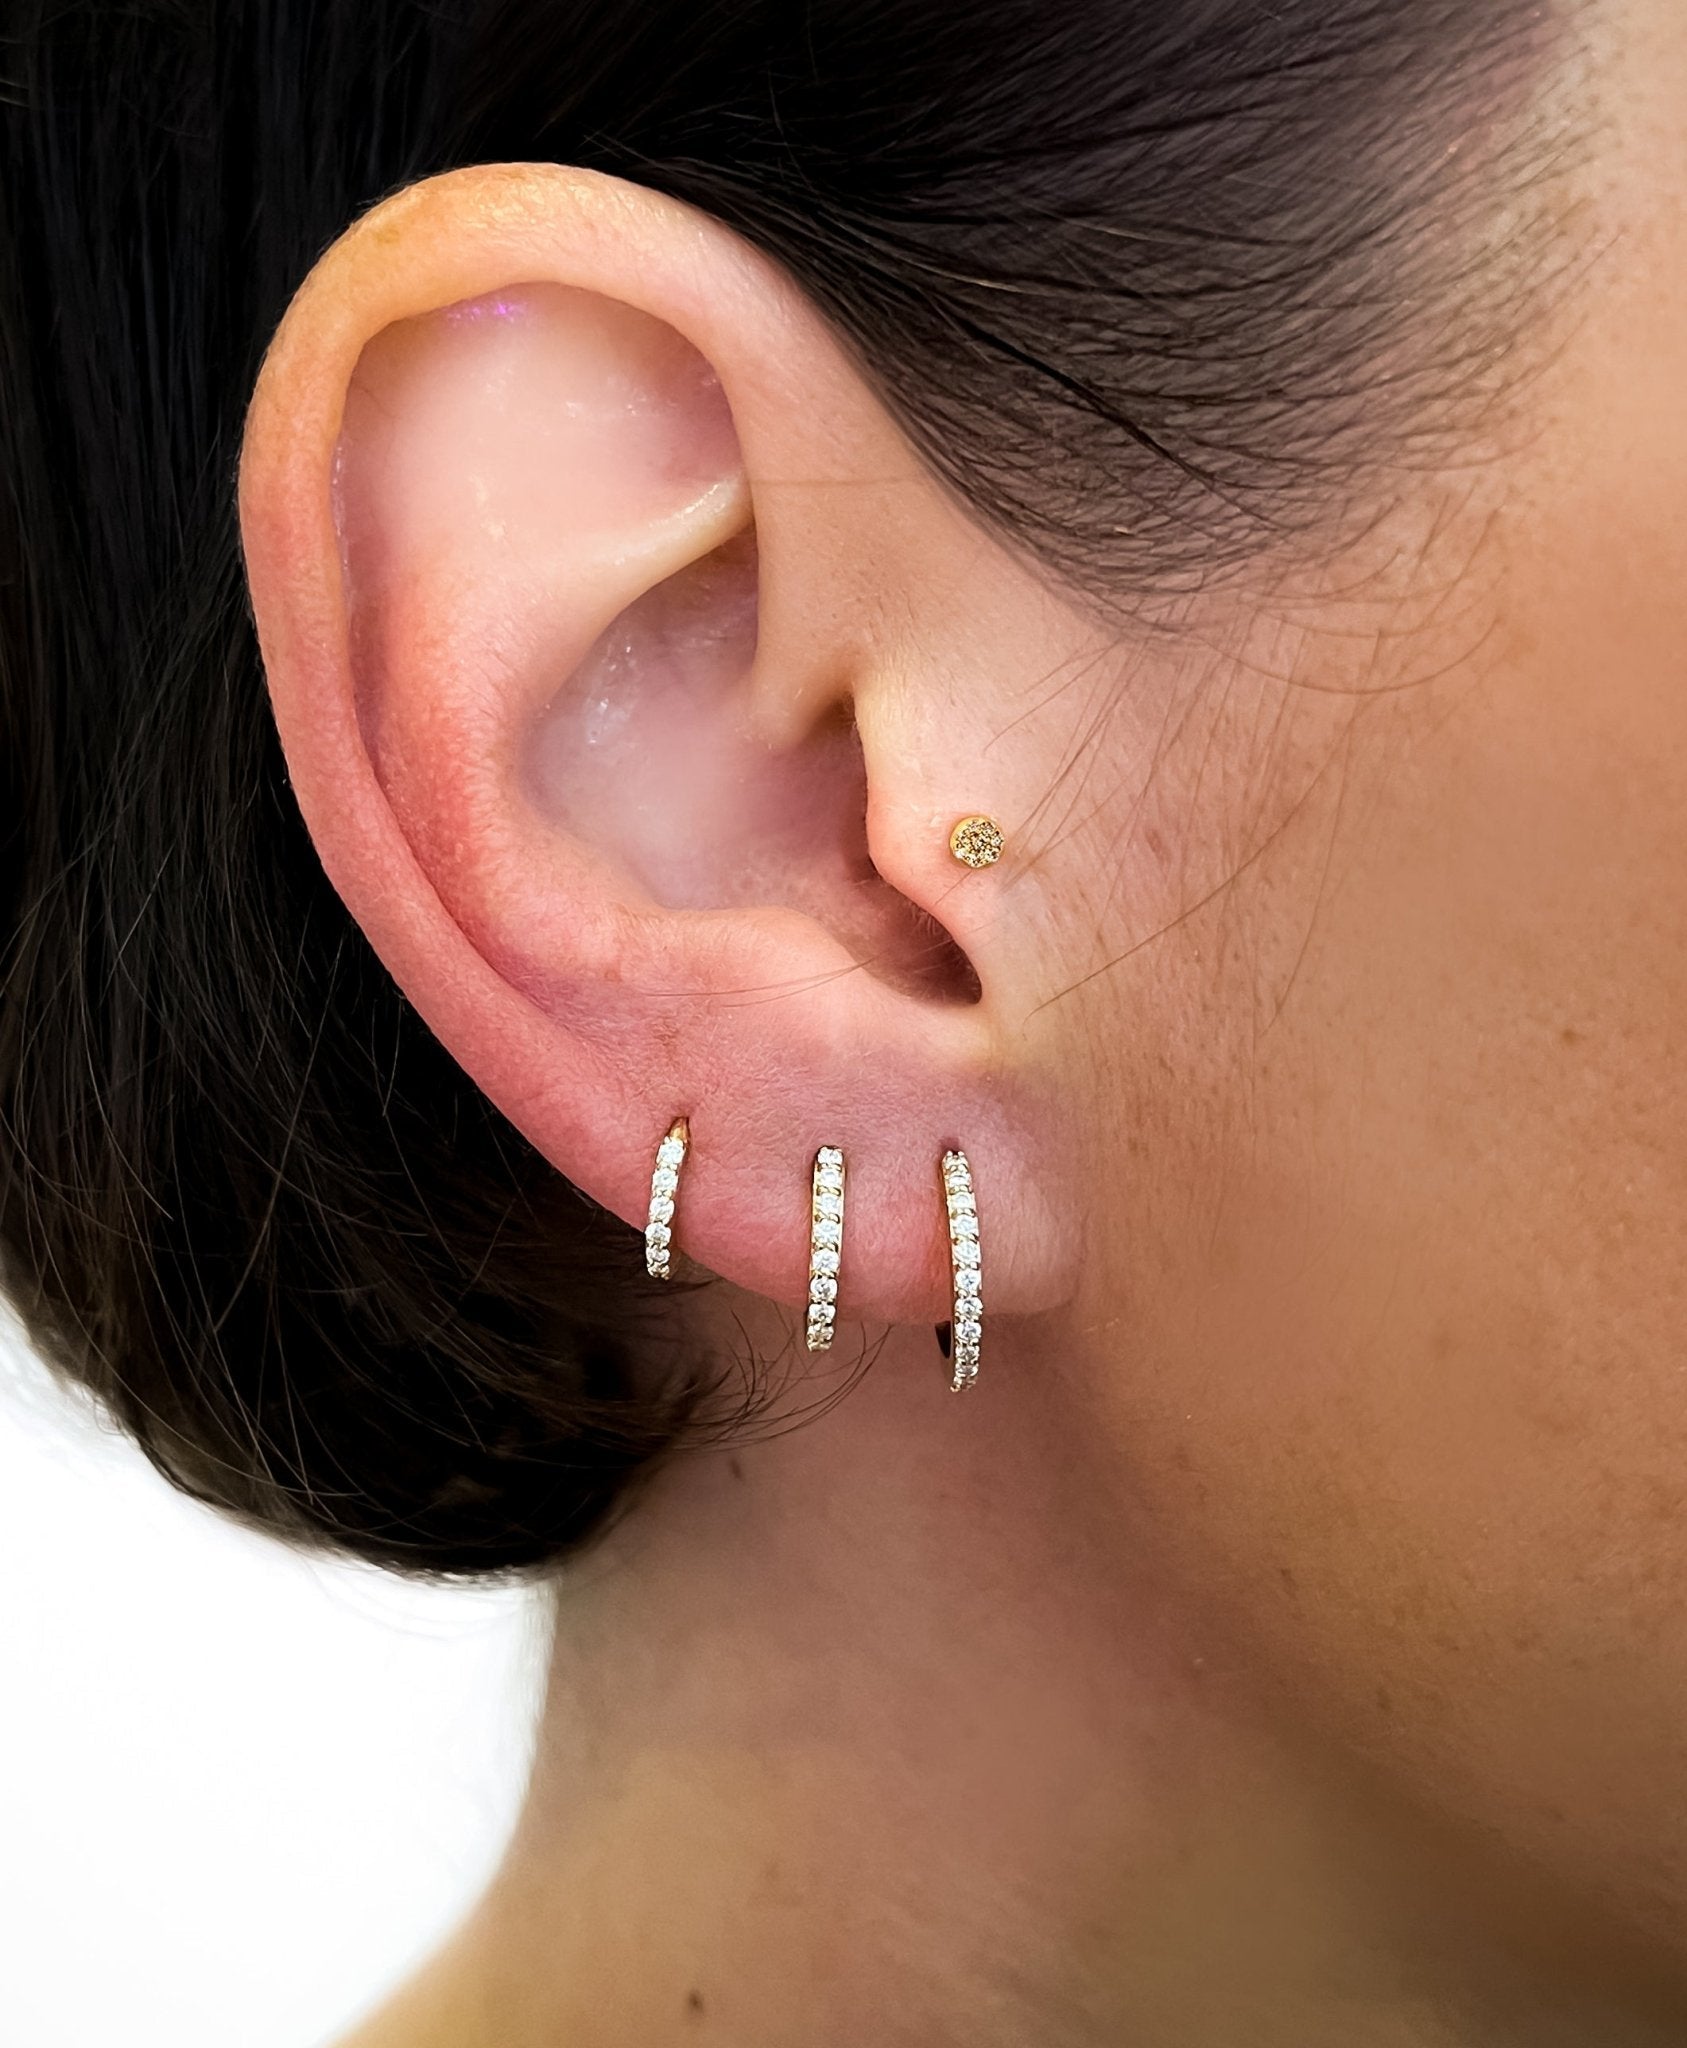
Lobe Placements
Standard Lobe
- Description: The soft, fleshy, lower part of the ear. Often the first piercing received and the easiest to heal.
- Typical Jewellery: Studs, hoops, and various designs once healed.
- Pain Level (L&B Scale): 3/10.
- Healing Time: Approximately 4-6 weeks.
- Note: Quickest to heal; great for starting your ear story. Multiple lobe piercings (stacked lobes) are very popular.
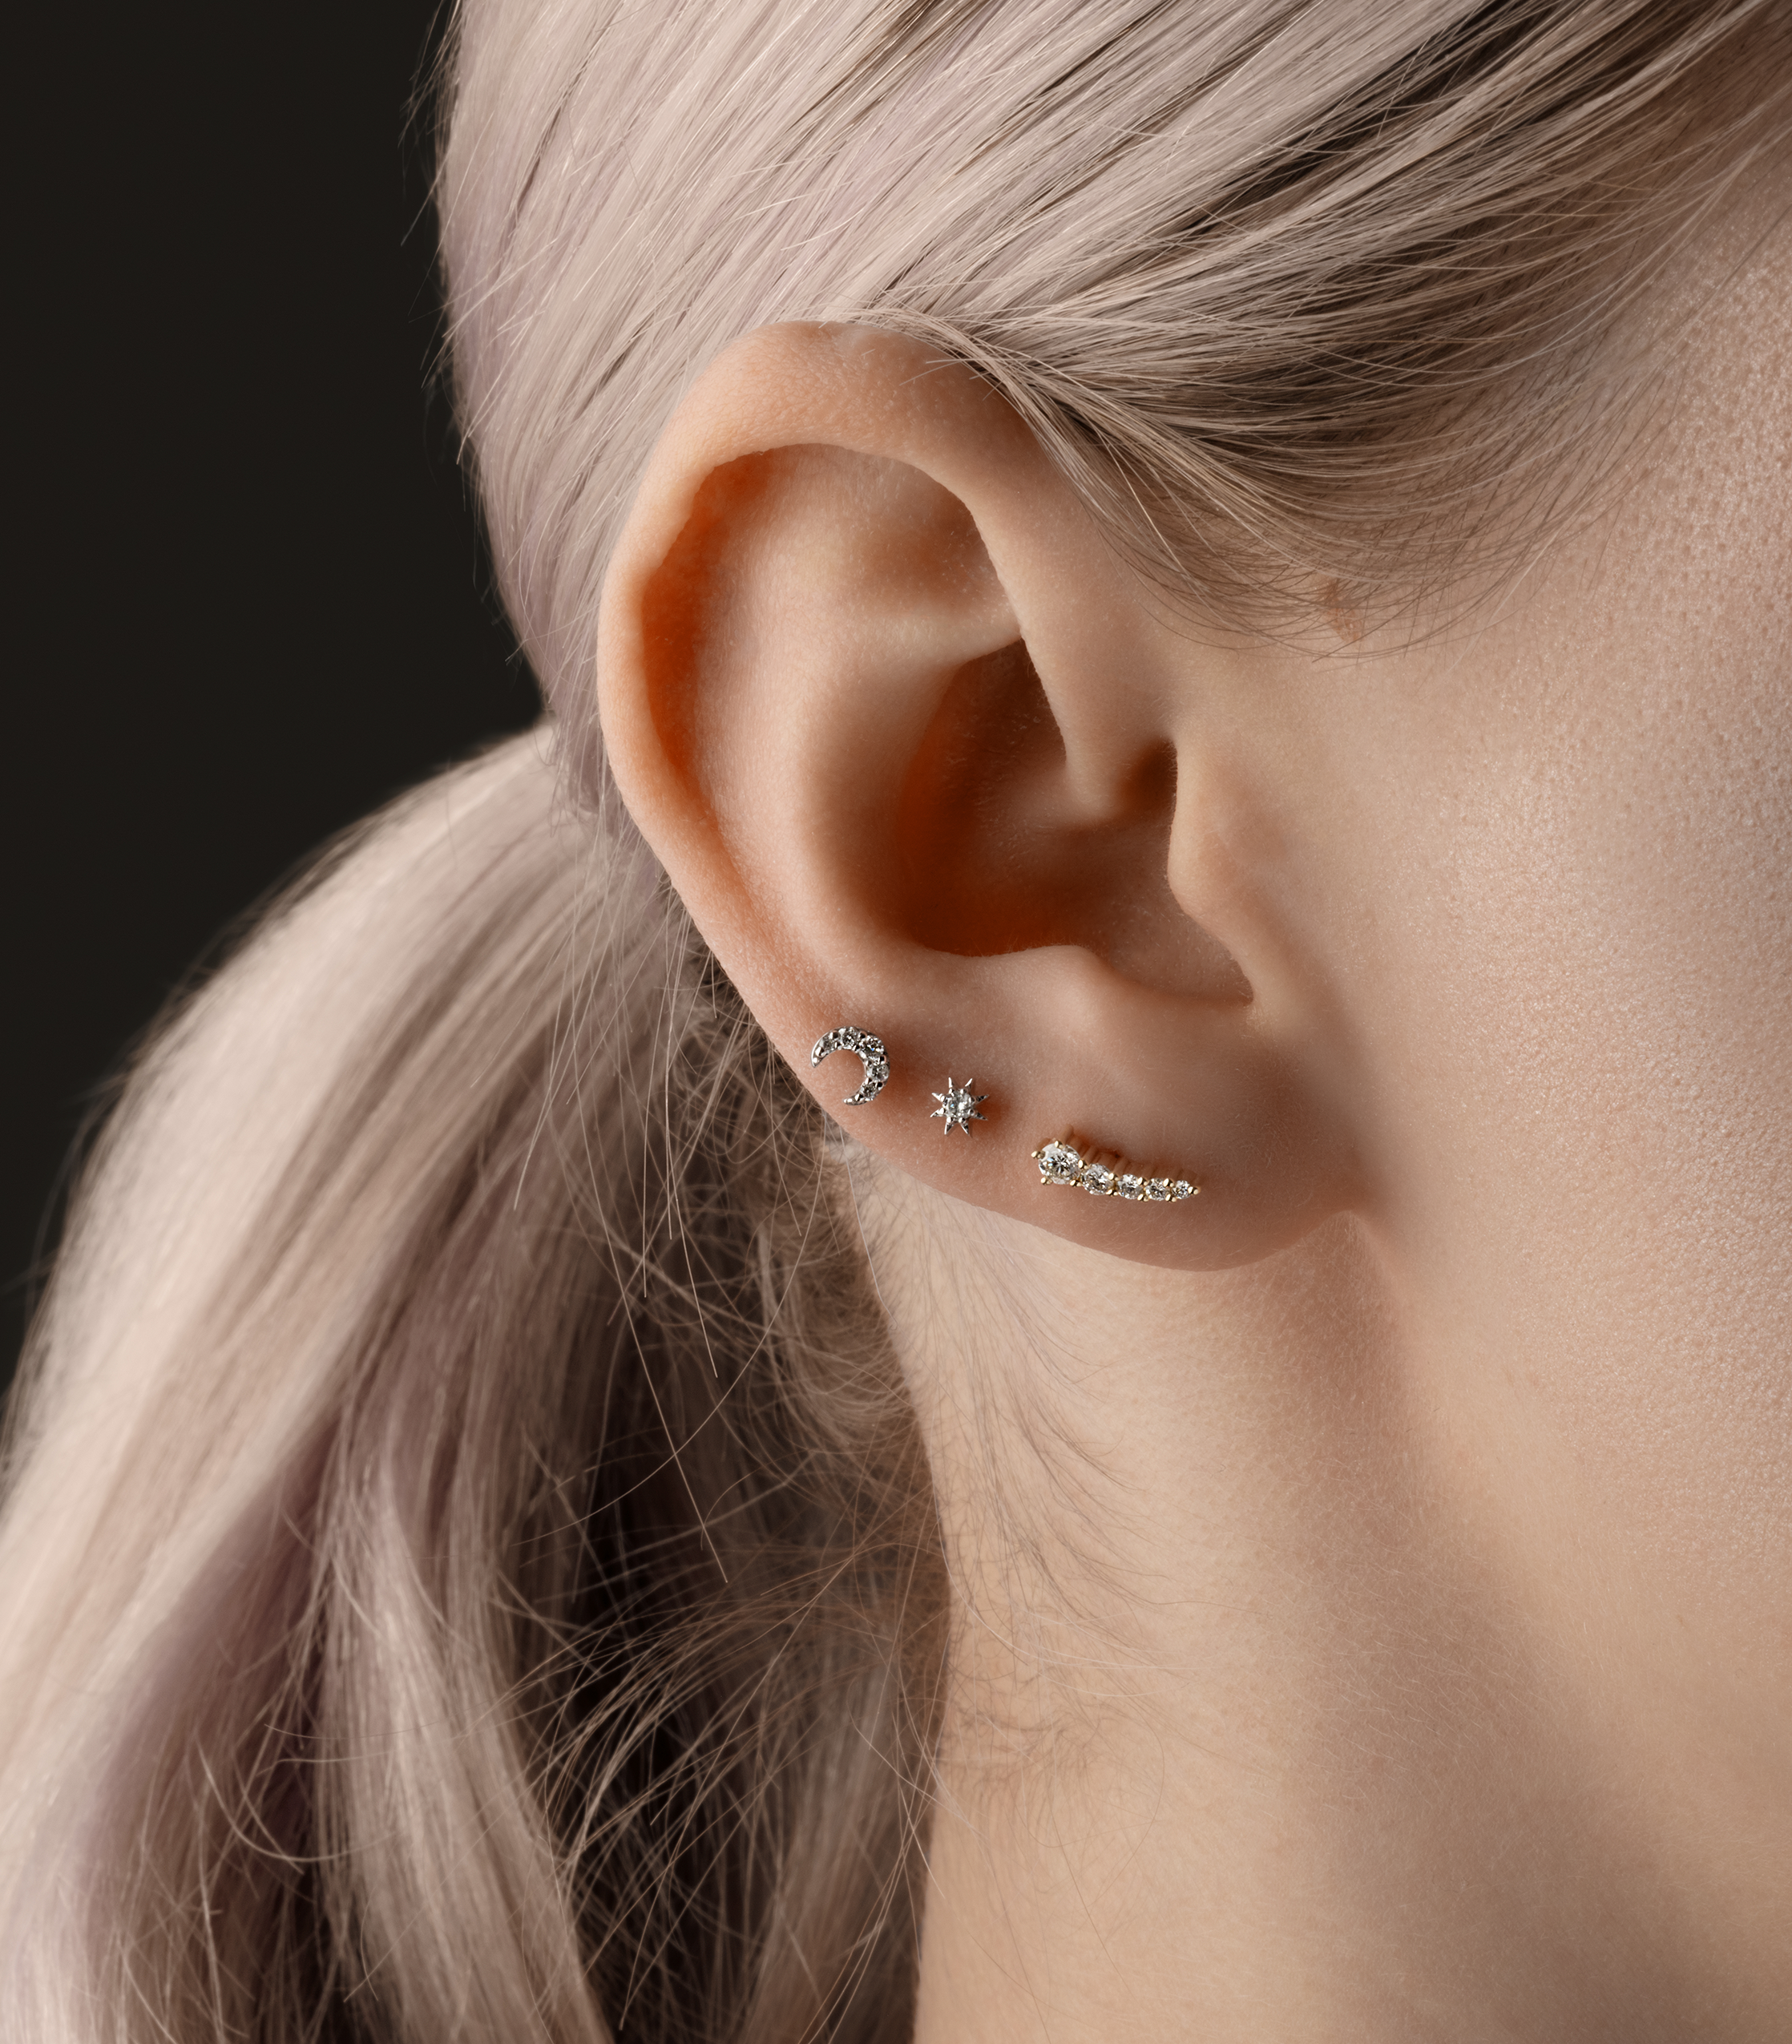
Upper Lobe / Stacked Lobe
- Description: Piercings placed slightly above the standard lobe, ascending up the fleshy part.
- Typical Jewellery: Smaller studs to create a 'stack'.
- Pain Level (L&B Scale): 4/10.
- Healing Time: Approximately 4-6 weeks.
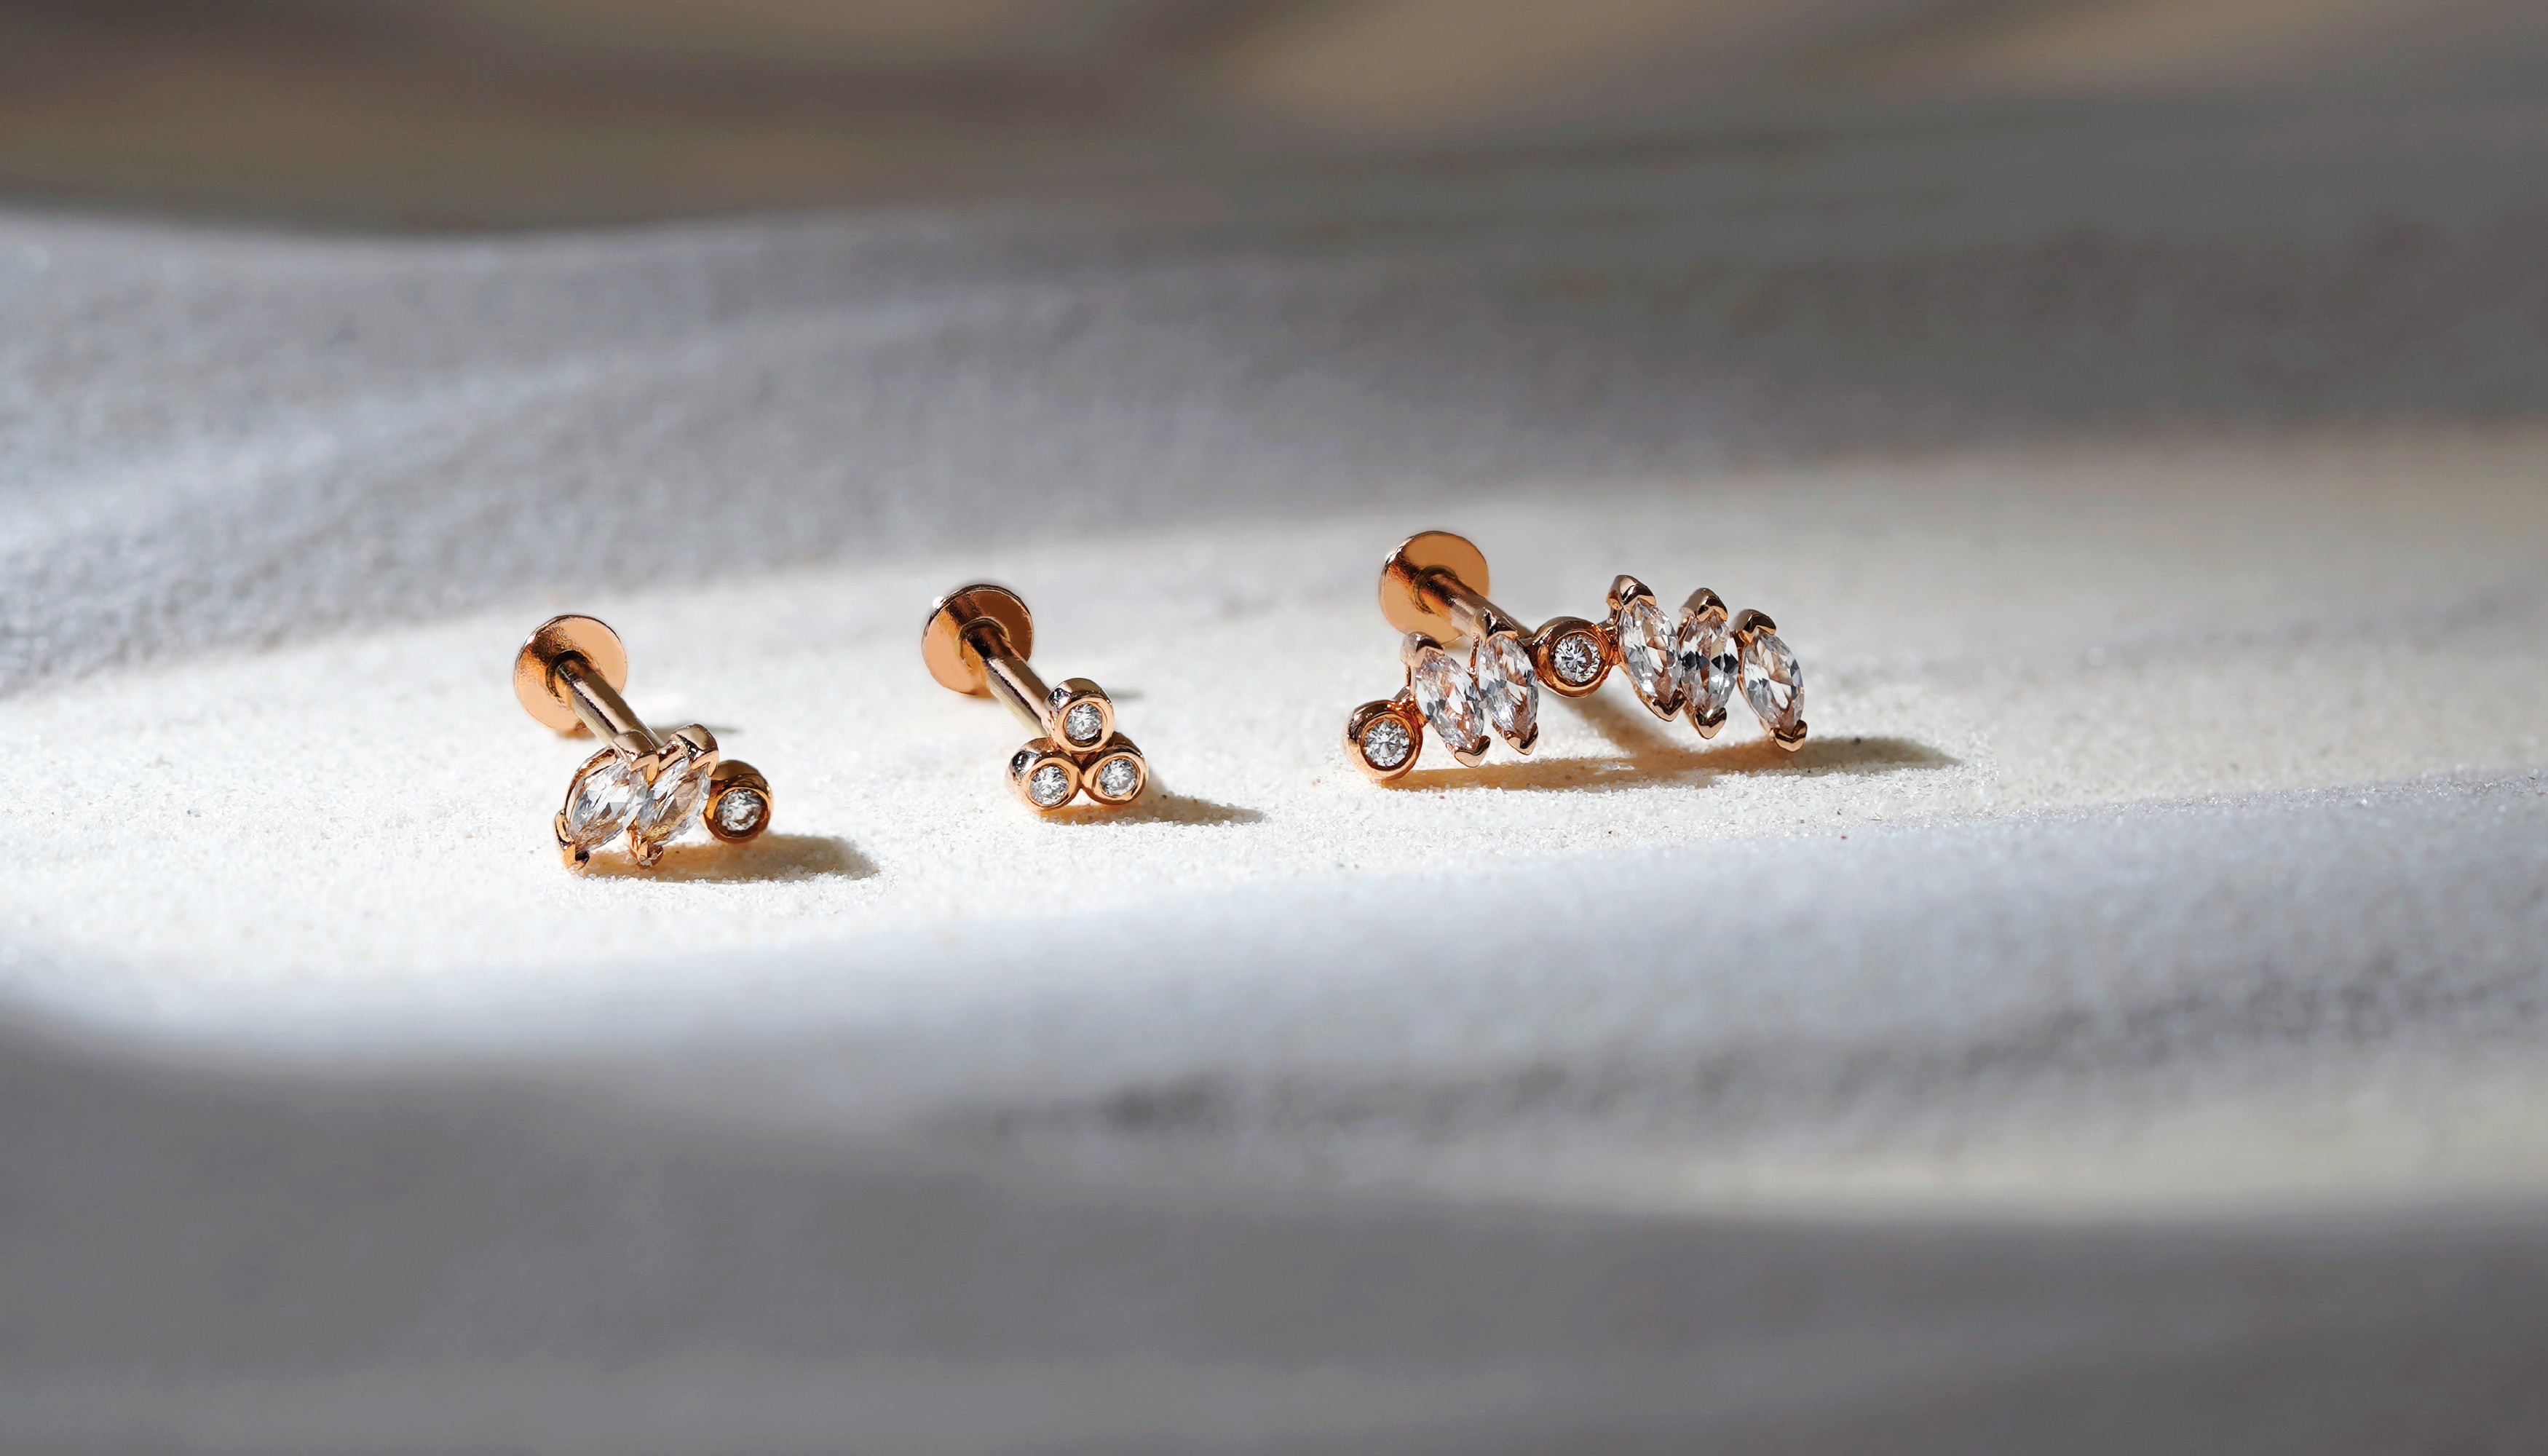
- Note: Allows for creative combinations and a graduated look, often featuring our lab-grown diamonds and gemstones.
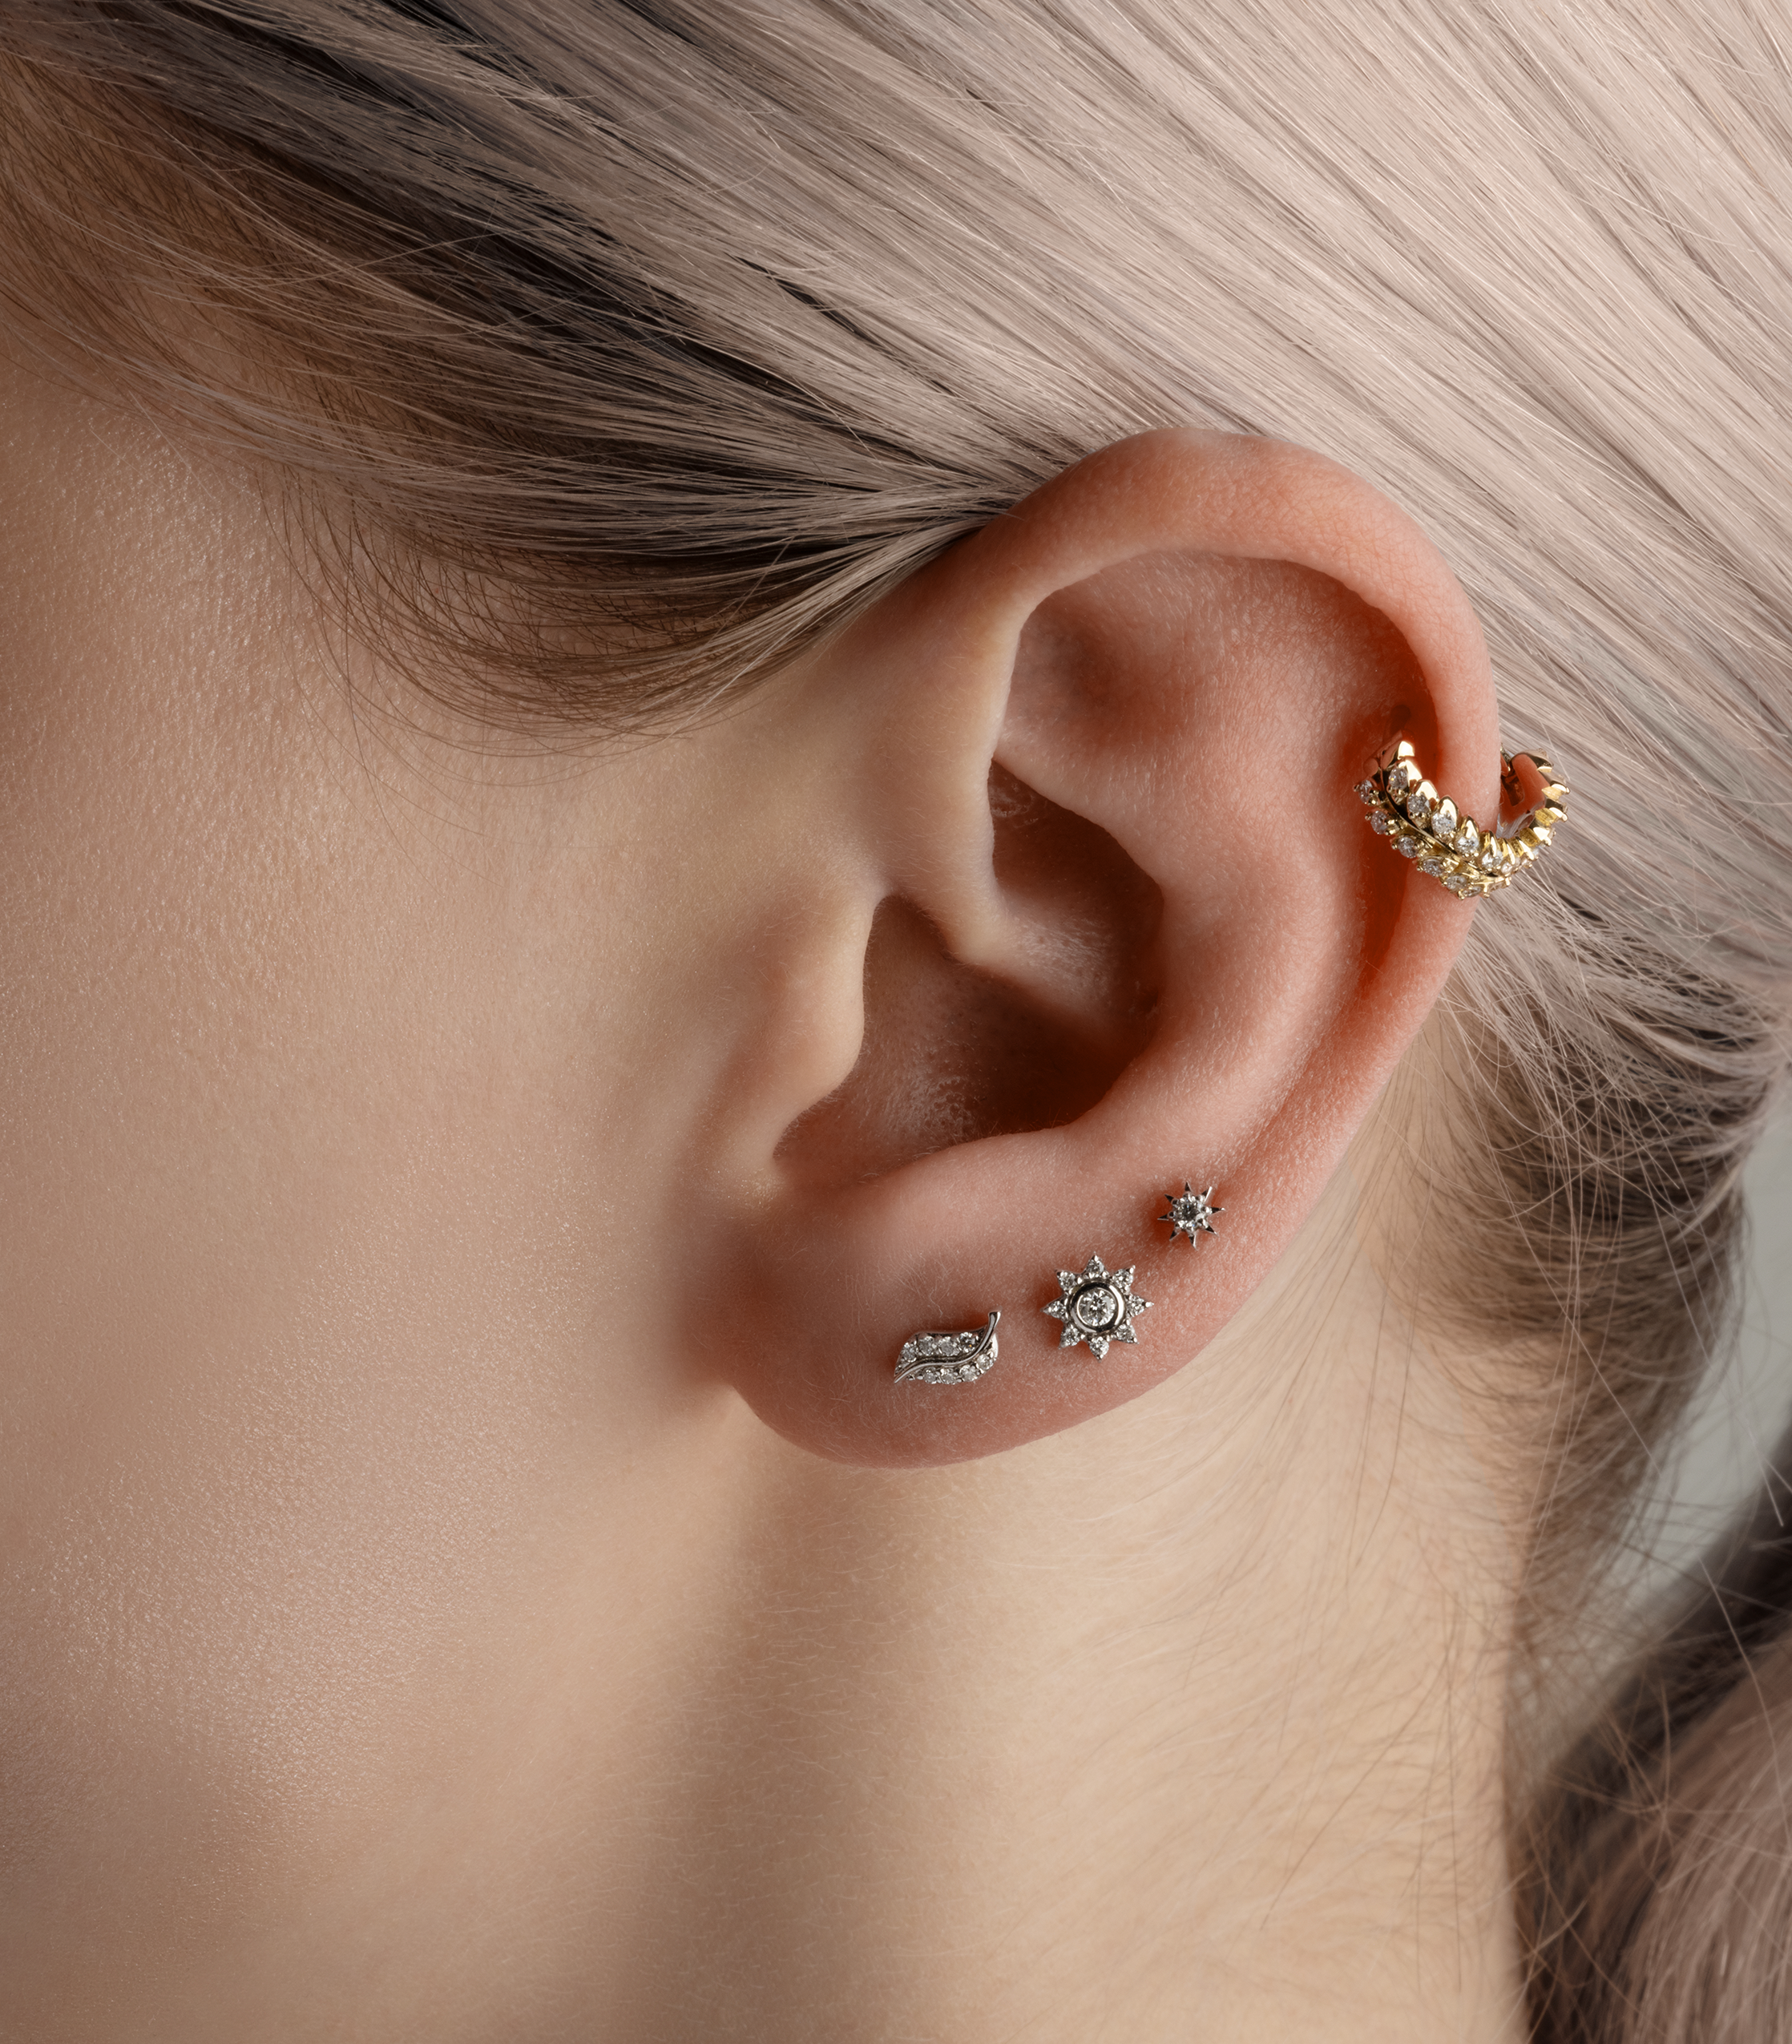
Cartilage Placements at Lark & Berry
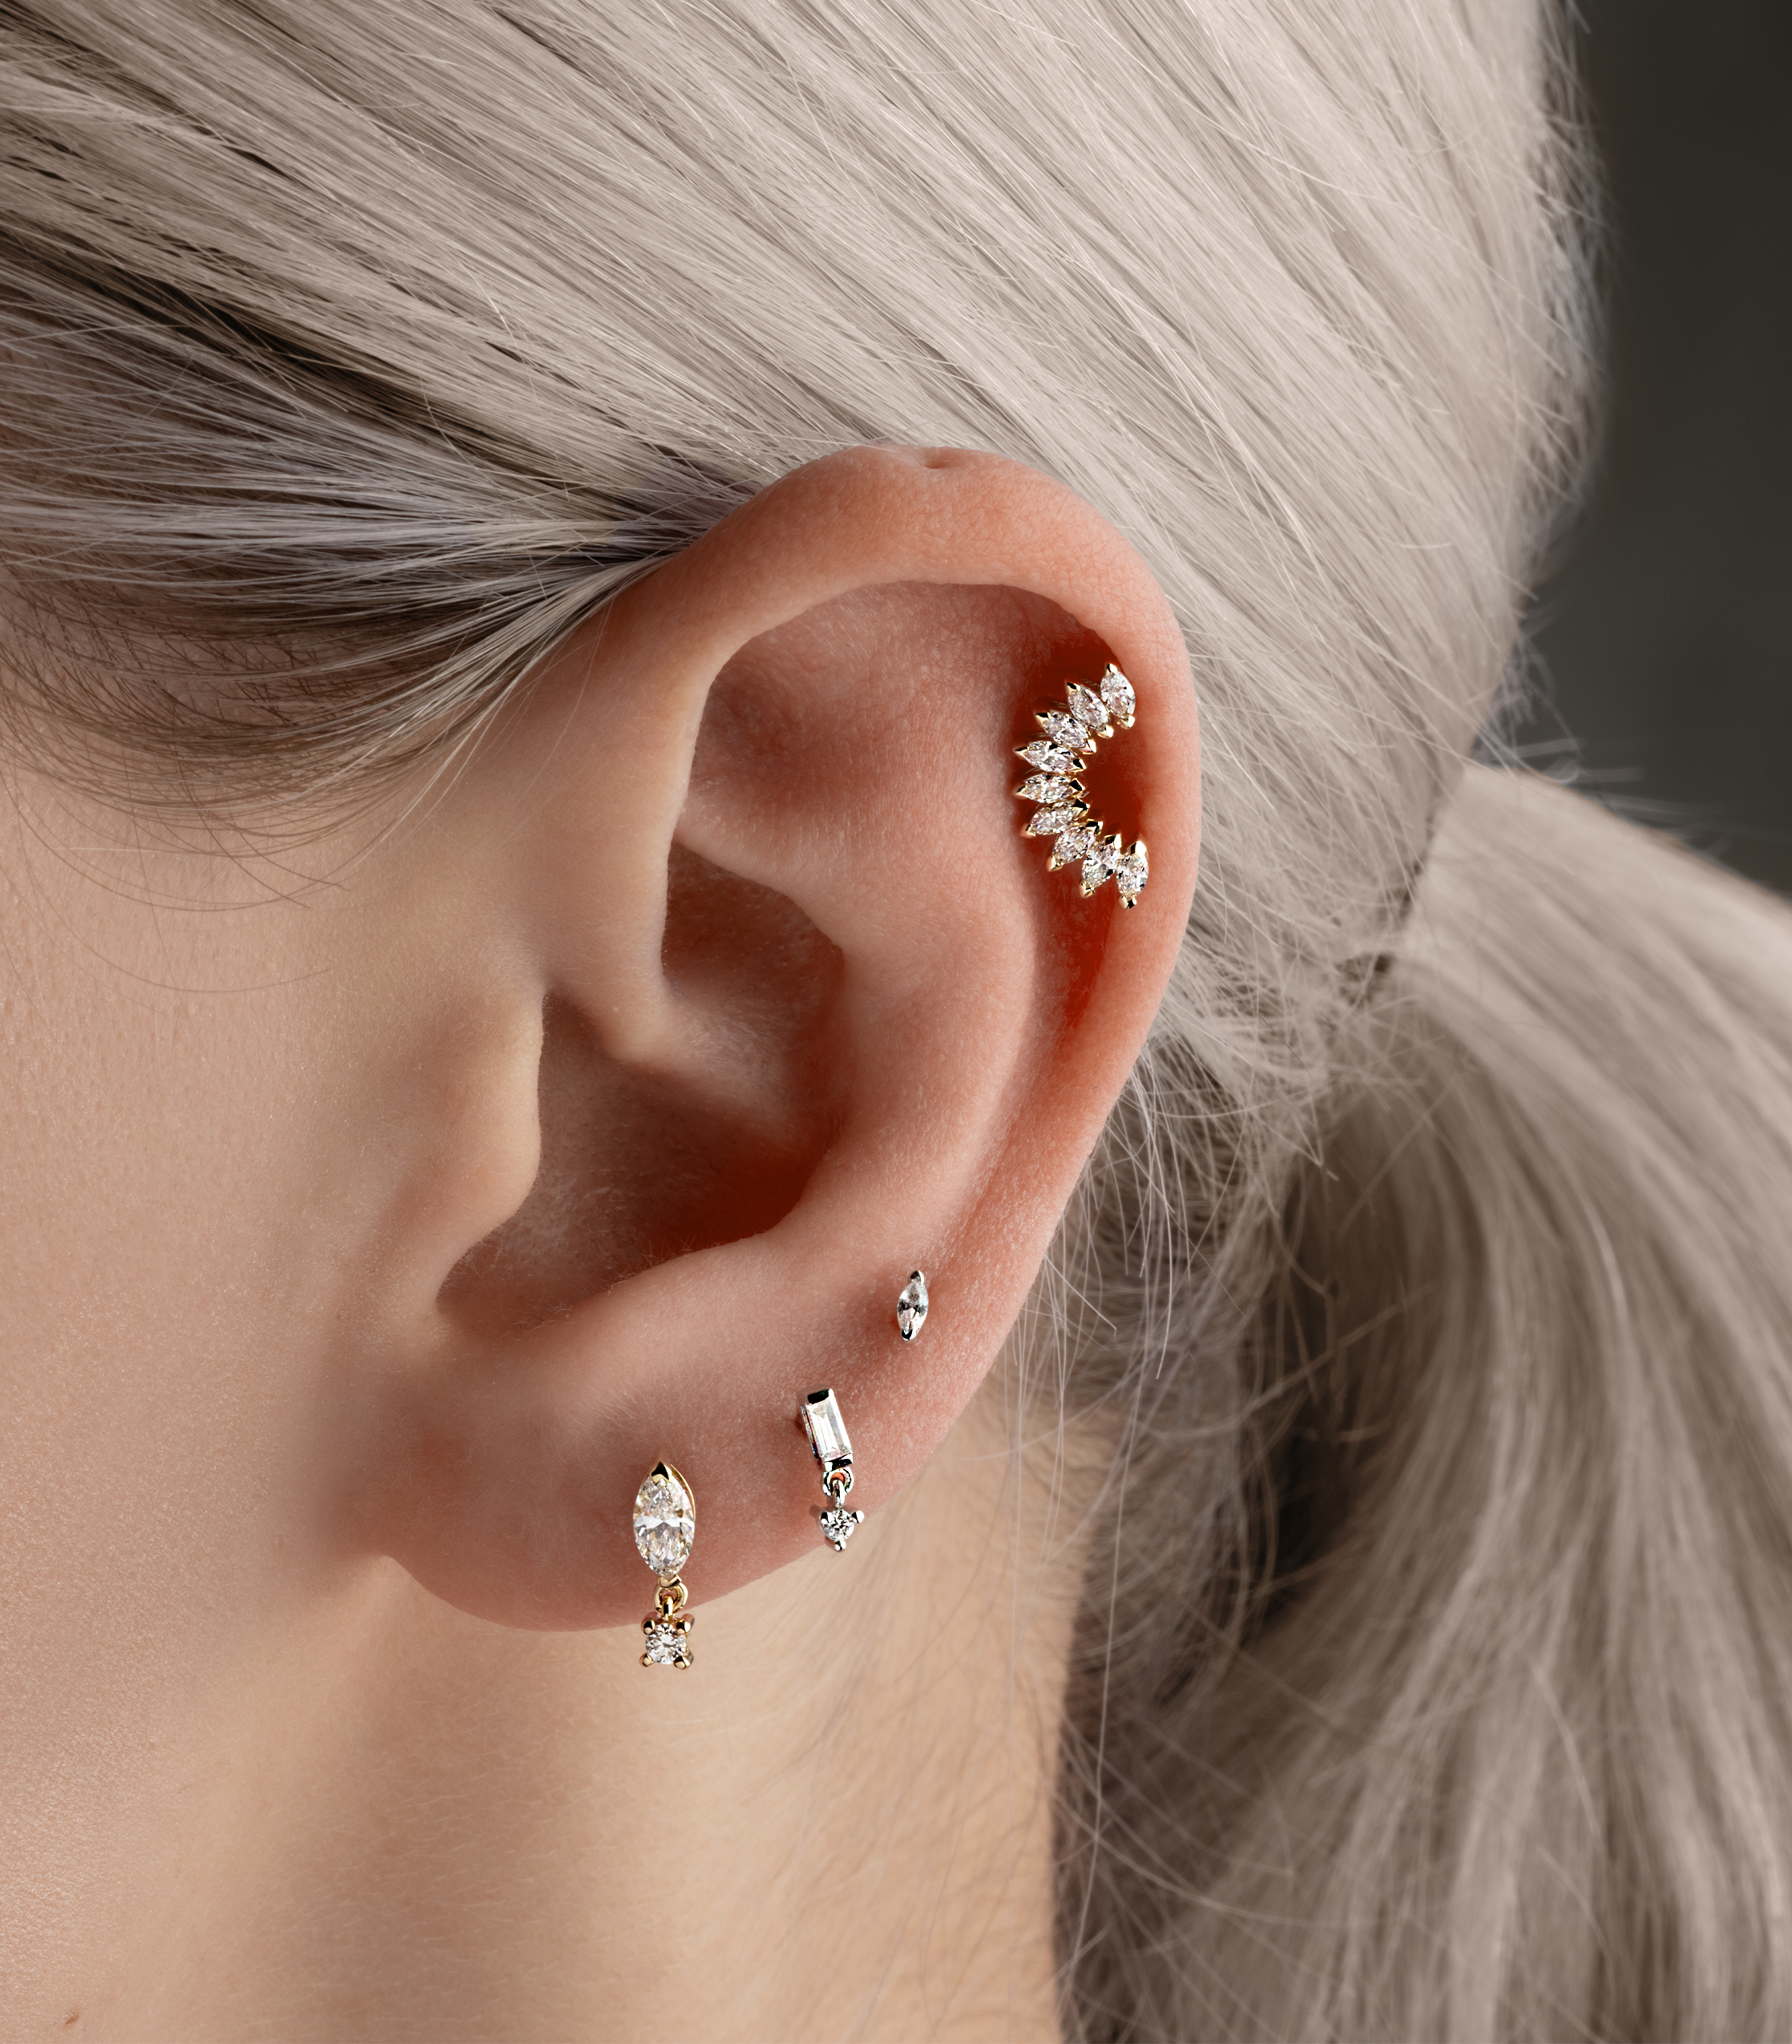
Helix / Standard Cartilage
- Description: Along the upper outer rim of the ear cartilage.
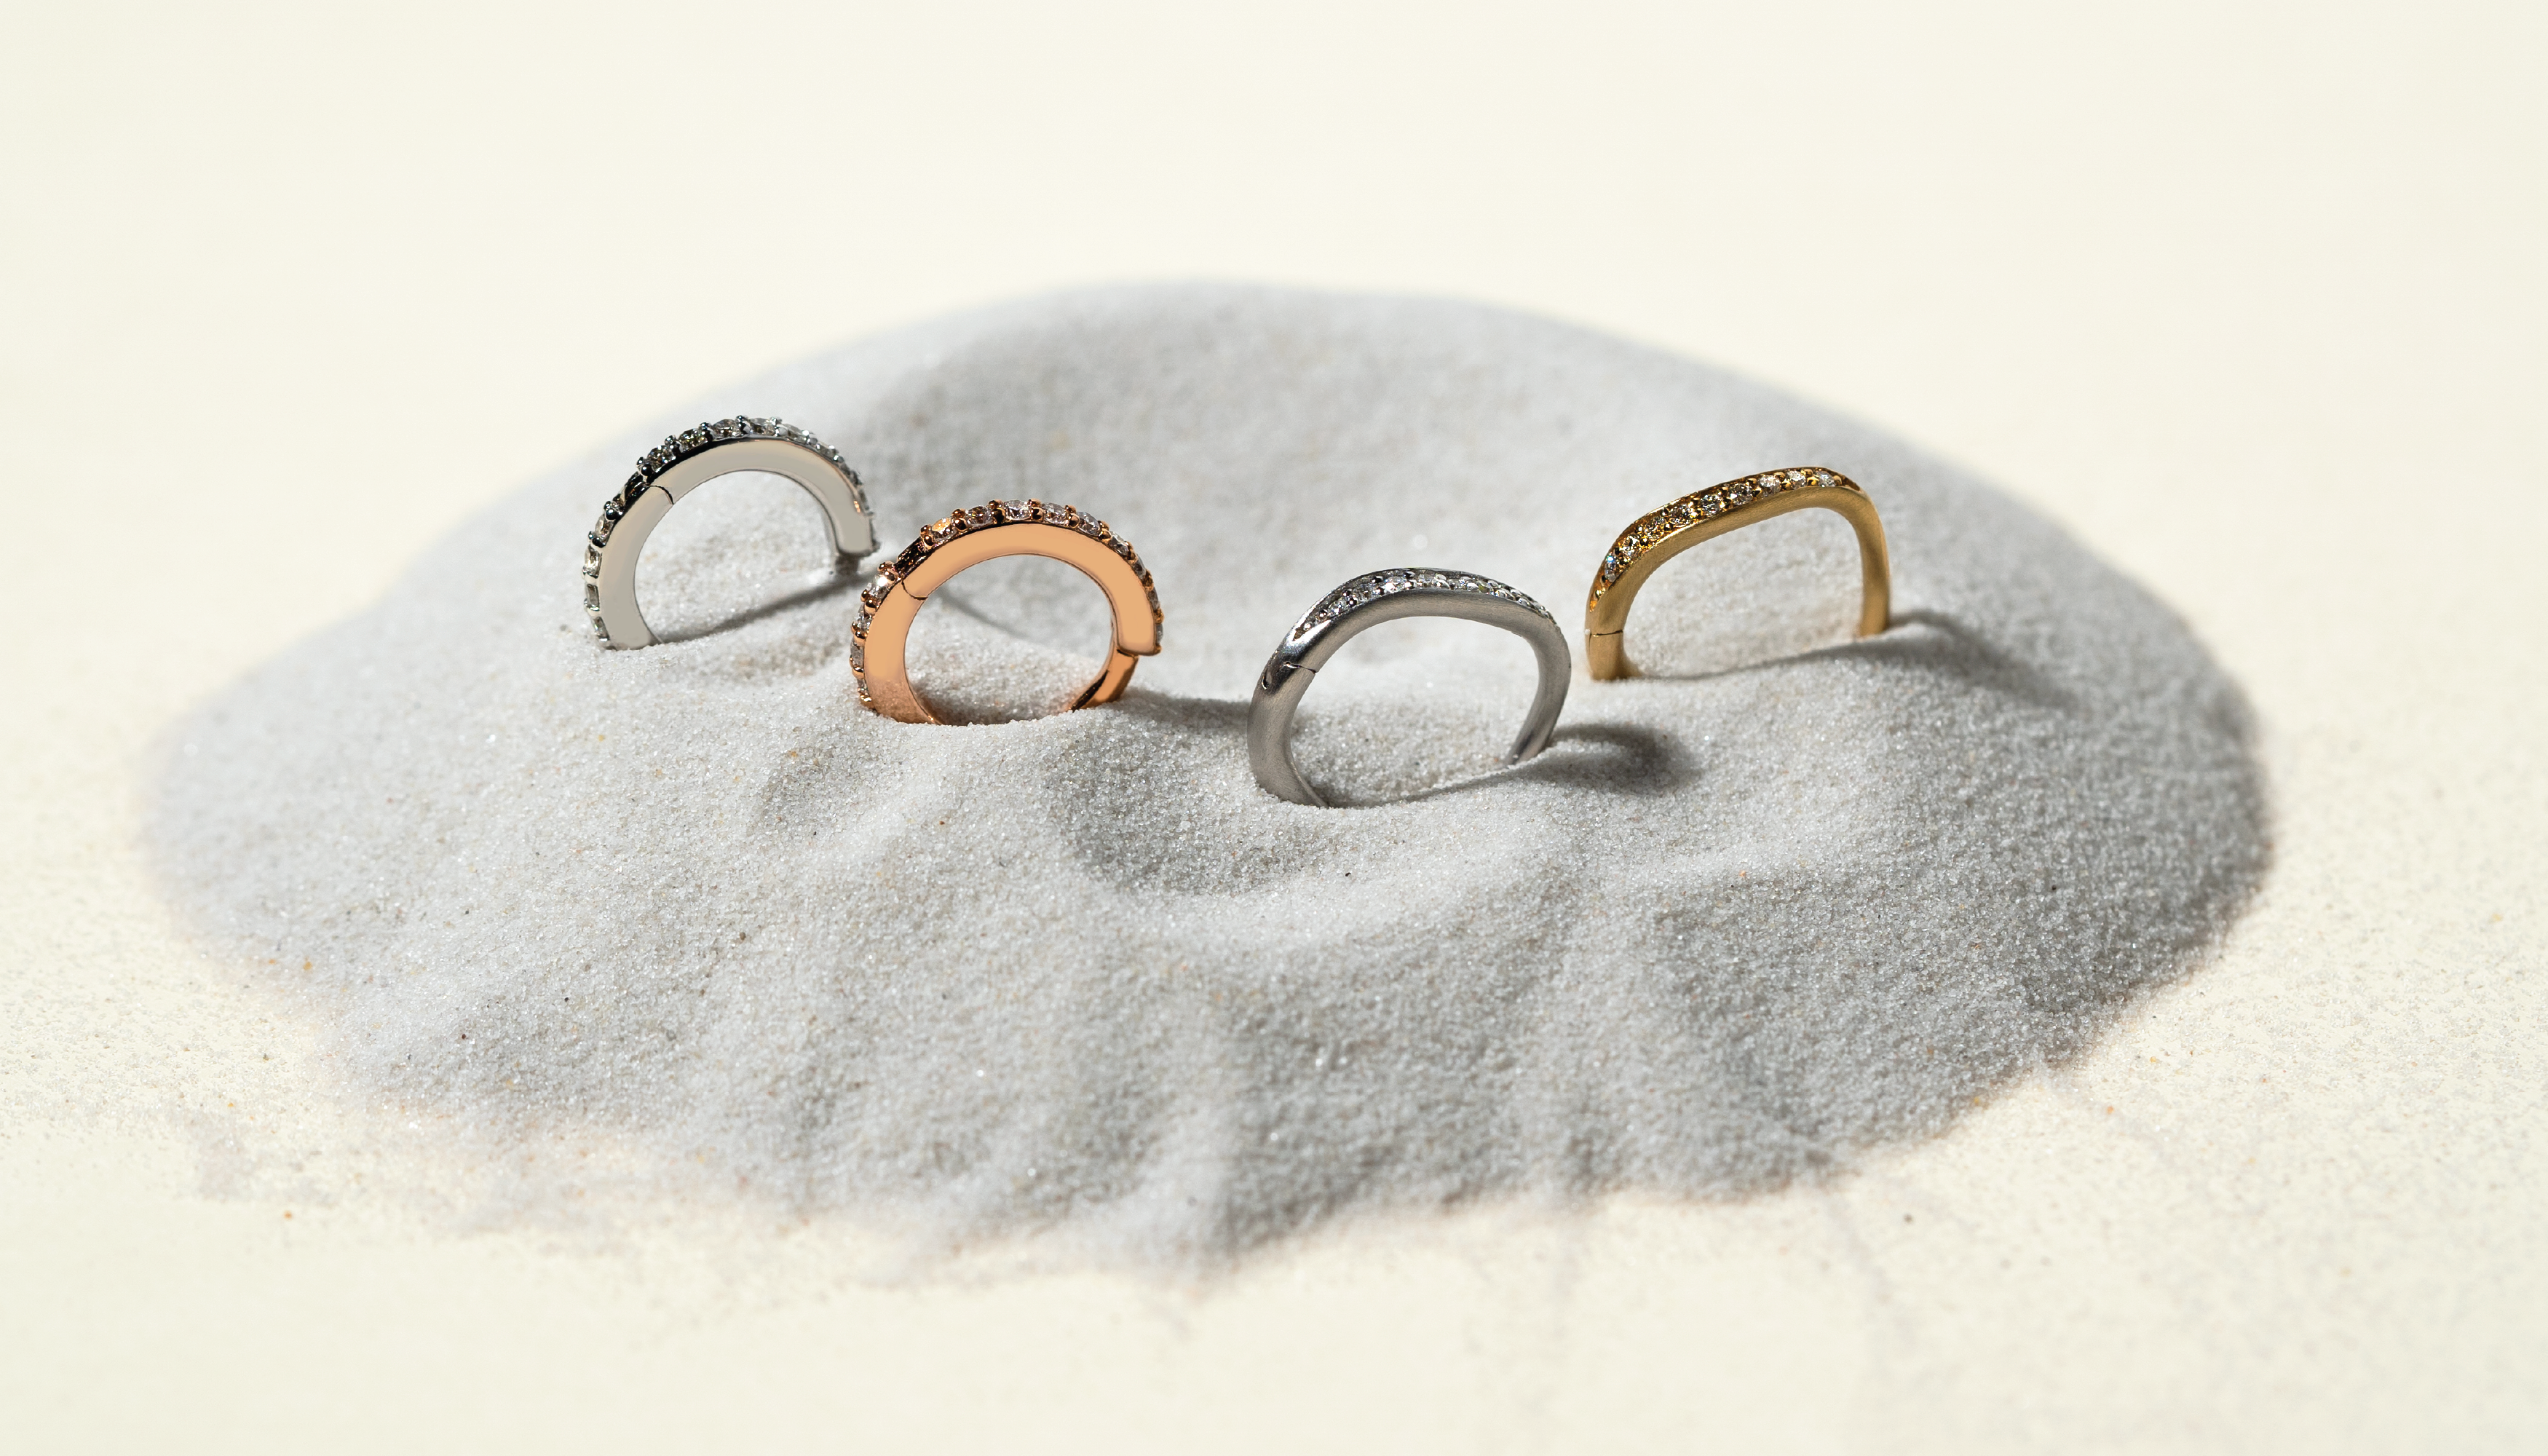
- Typical Jewellery: Studs are recommended initially; small hoops or captive bead rings once fully healed.
- Pain Level (L&B Scale): 5/10.
- Healing Time: Approximately 6-12 months.
- Note: A very popular and versatile placement for adding sparkle and personality to your curated ear.
Forward Helix
- Description: A delicate area on the upper cartilage, where the helix curves inwards towards the face, above the tragus.
- Typical Jewellery: Small studs are preferred; often done in twos or threes for a subtle statement.
- Pain Level (L&B Scale): 6/10.
- Healing Time: Approximately 6-12 months.
- Note: This placement is anatomy dependent; our expert piercers will assess suitability during your consultation.
Tragus
- Description: The small, thick piece of cartilage that sits just in front of the ear canal opening.
- Typical Jewellery: Smaller, dainty studs with flat-back posts are ideal; small captive bead rings once healed.
- Pain Level (L&B Scale): 5/10.
- Healing Time: Approximately 6-12 months.
- Note: Be mindful of earphones and sleeping habits during the healing period.
Conch
- Description: The central, cup-shaped area of cartilage in the ear. Can be pierced in the inner or outer section.
- Typical Jewellery: Flat-back studs are excellent for the inner conch; hoops (often larger) can adorn the outer conch area once fully healed.
- Pain Level (L&B Scale): 6/10.
- Healing Time: Approximately 6-12 months.
- Note: Offers a great canvas for statement lab-grown gemstone studs from our collection.
Designing Your Unique Curated Ear with Lark & Berry
Creating your dream curated ear is a journey of personal expression, and at Lark & Berry, we are thrilled to be a part of it. Our specialised piercers are not just technicians; they are experienced stylists who understand how to work with your unique ear anatomy to achieve a balanced, beautiful, and safe result. They will provide expert advice on which of these placements will best suit you and heal well, ensuring your satisfaction is paramount.
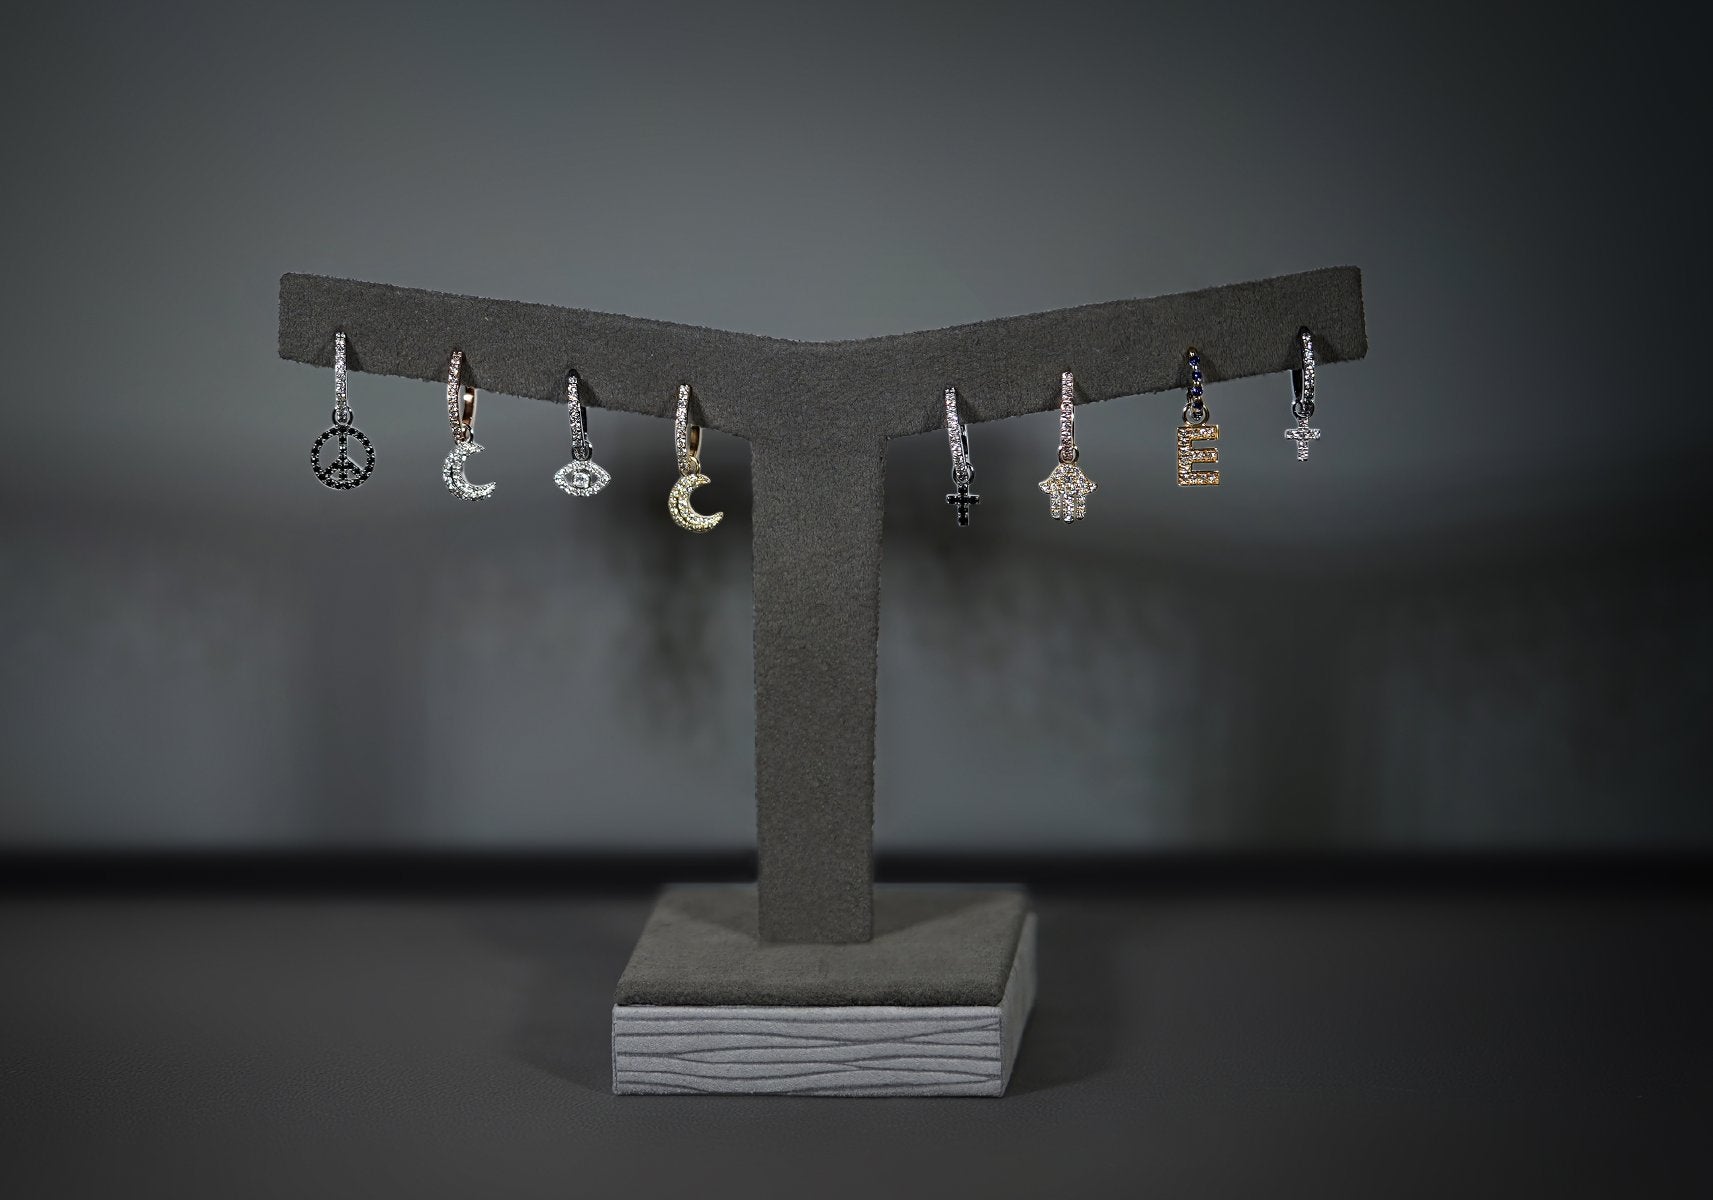
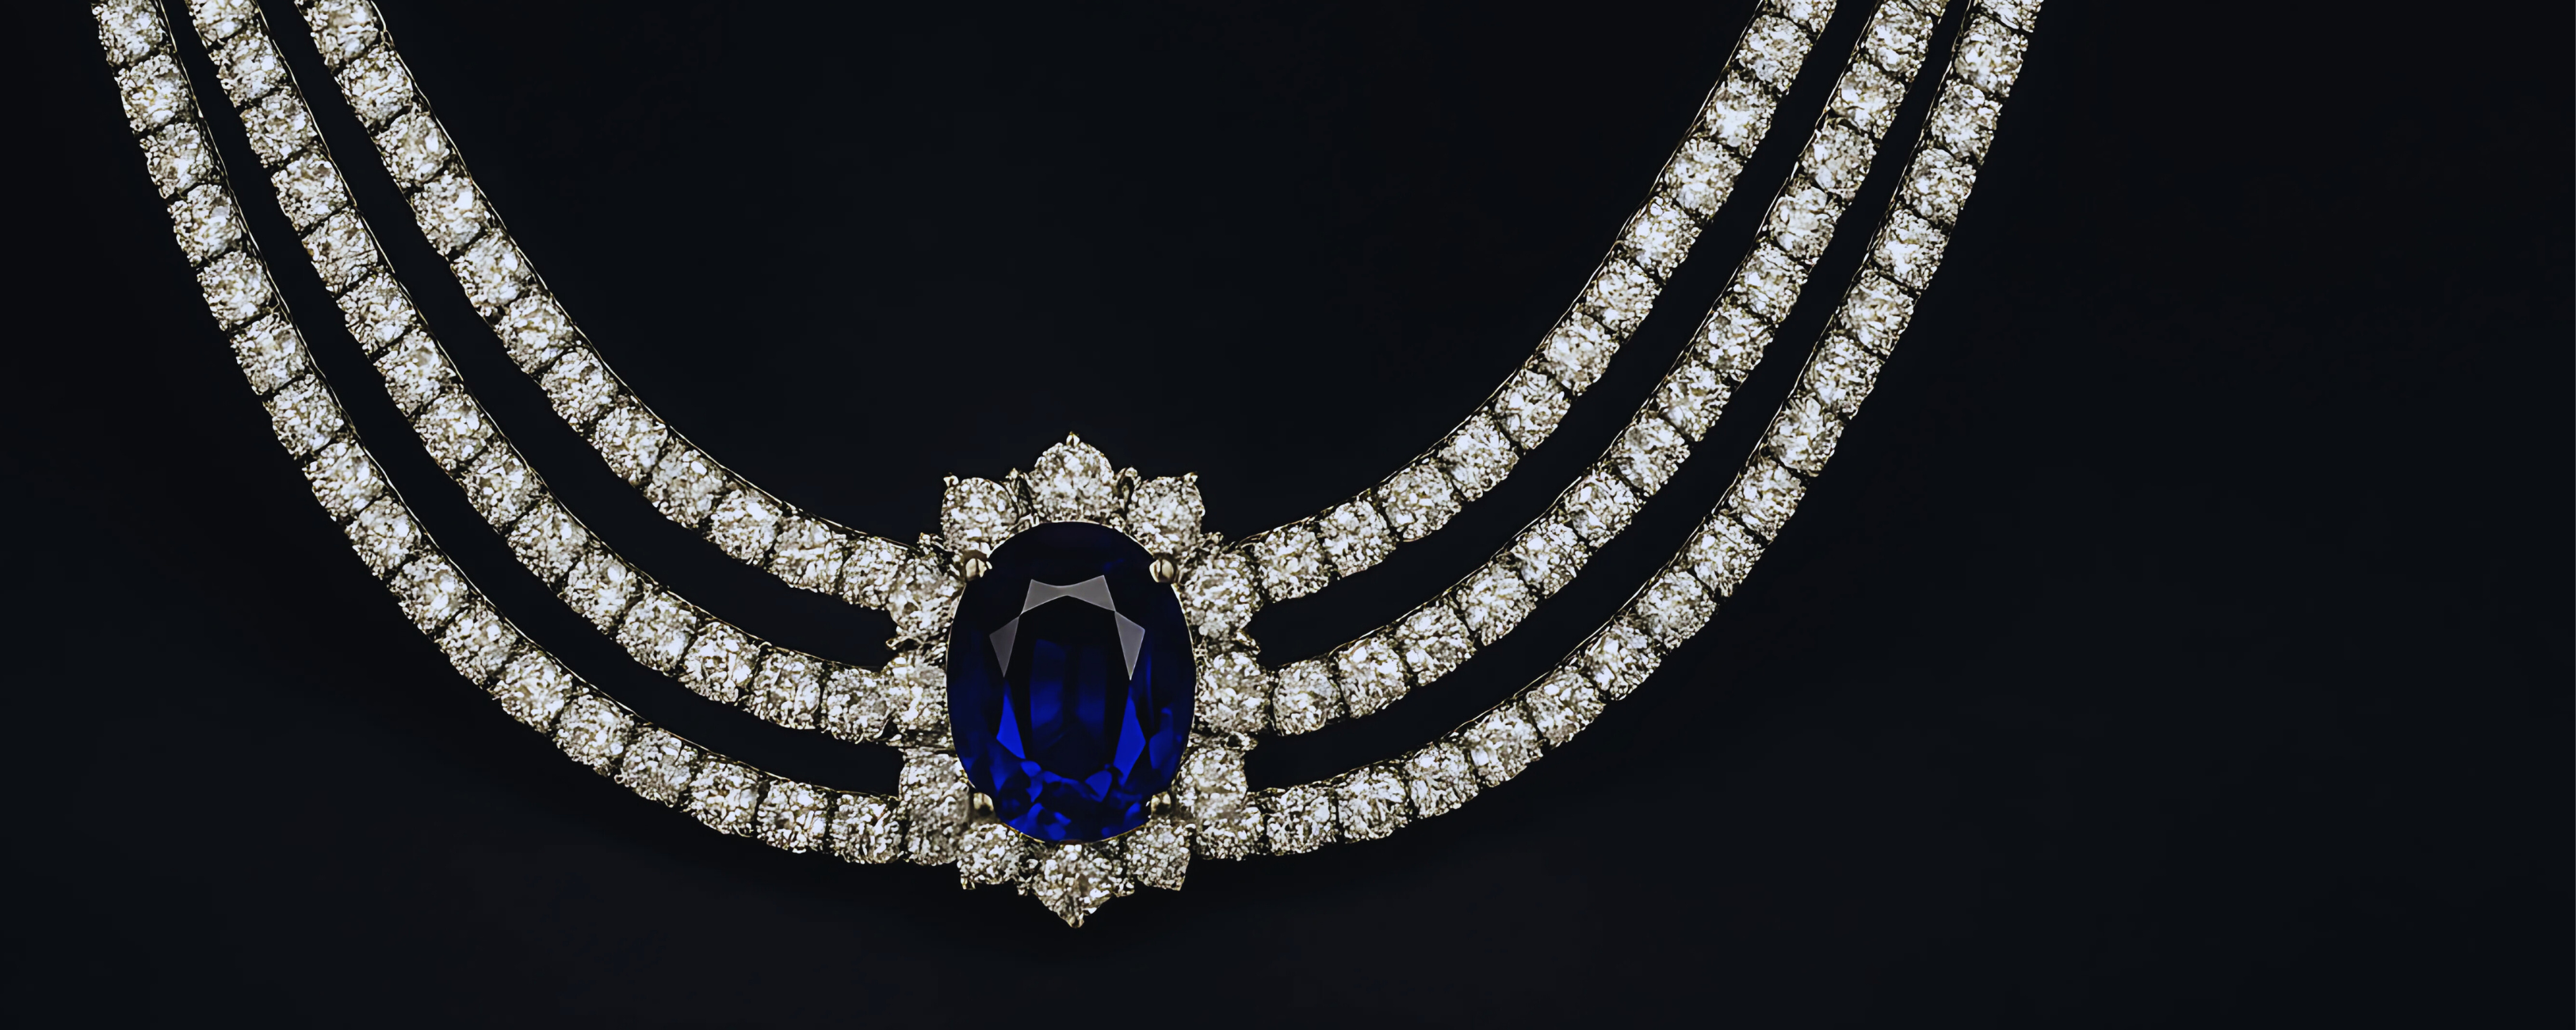
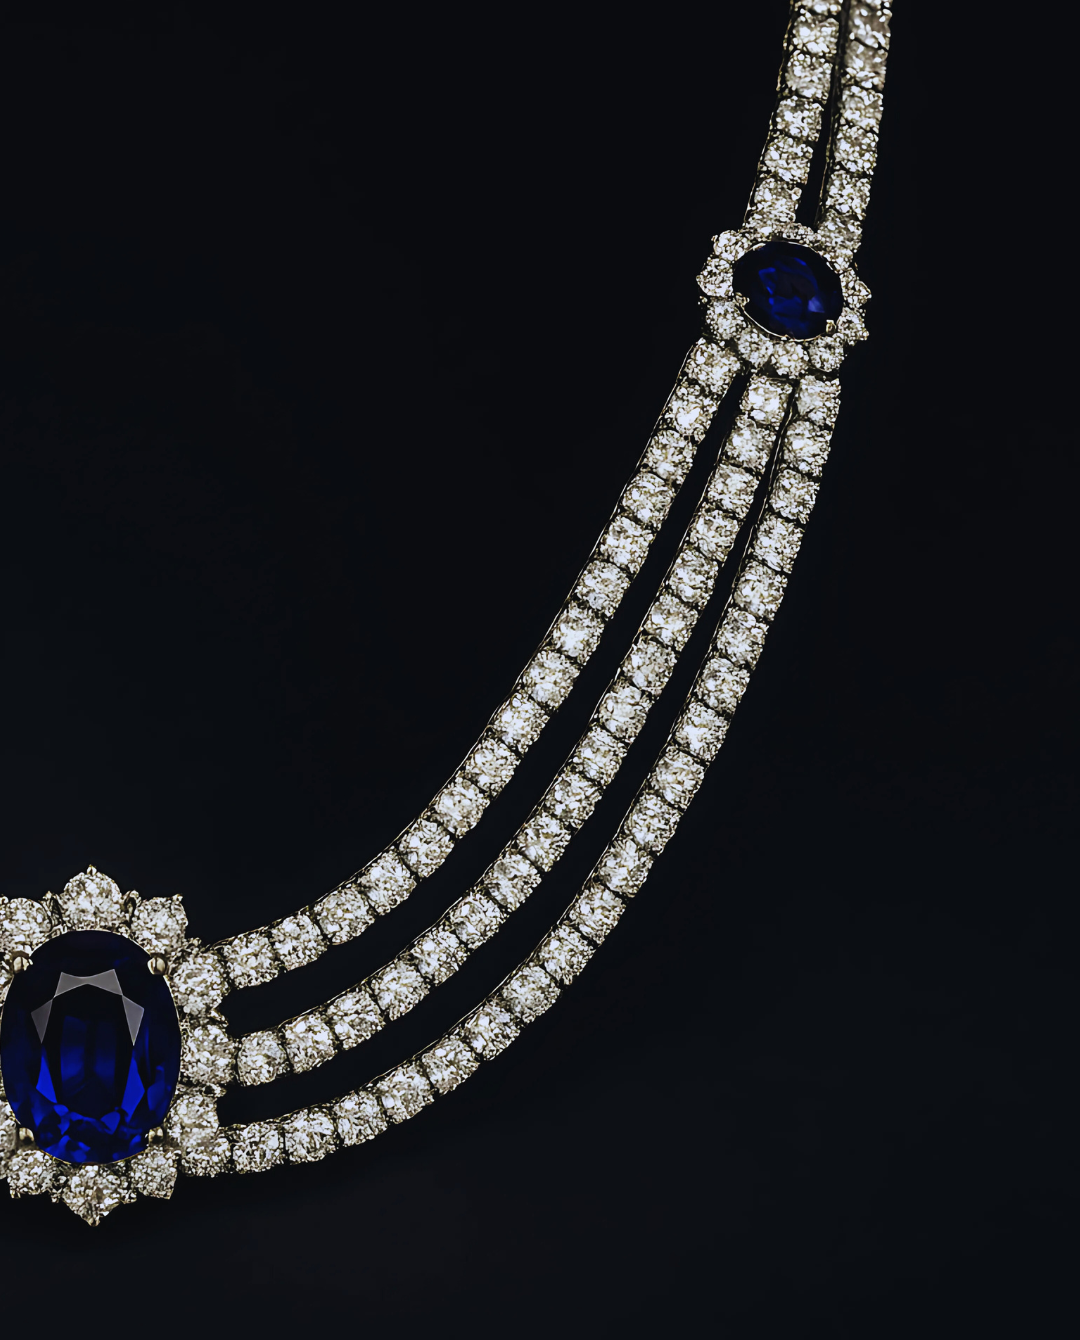
Each placement offers an opportunity to showcase exquisite jewellery. Imagine delicate lab-grown diamonds tracing your helix, a vibrant lab-grown sapphire in your conch, or a classic gold stud in your tragus. With Lark & Berry's collection of fine piercing jewellery, all crafted from nickel-free 14k gold and featuring ethically sourced lab-grown gemstones, your curated ear will be a testament to both style and conscious luxury.
Ready to start planning or have more questions? Book a piercing consultation or appointment with our experts today. For further information, please visit our Piercing FAQ page.